How to Add Built-Ins Without Sacrificing Floor Space
Spoiler alert: You don’t need bulky cabinetry to achieve a custom built-in look.
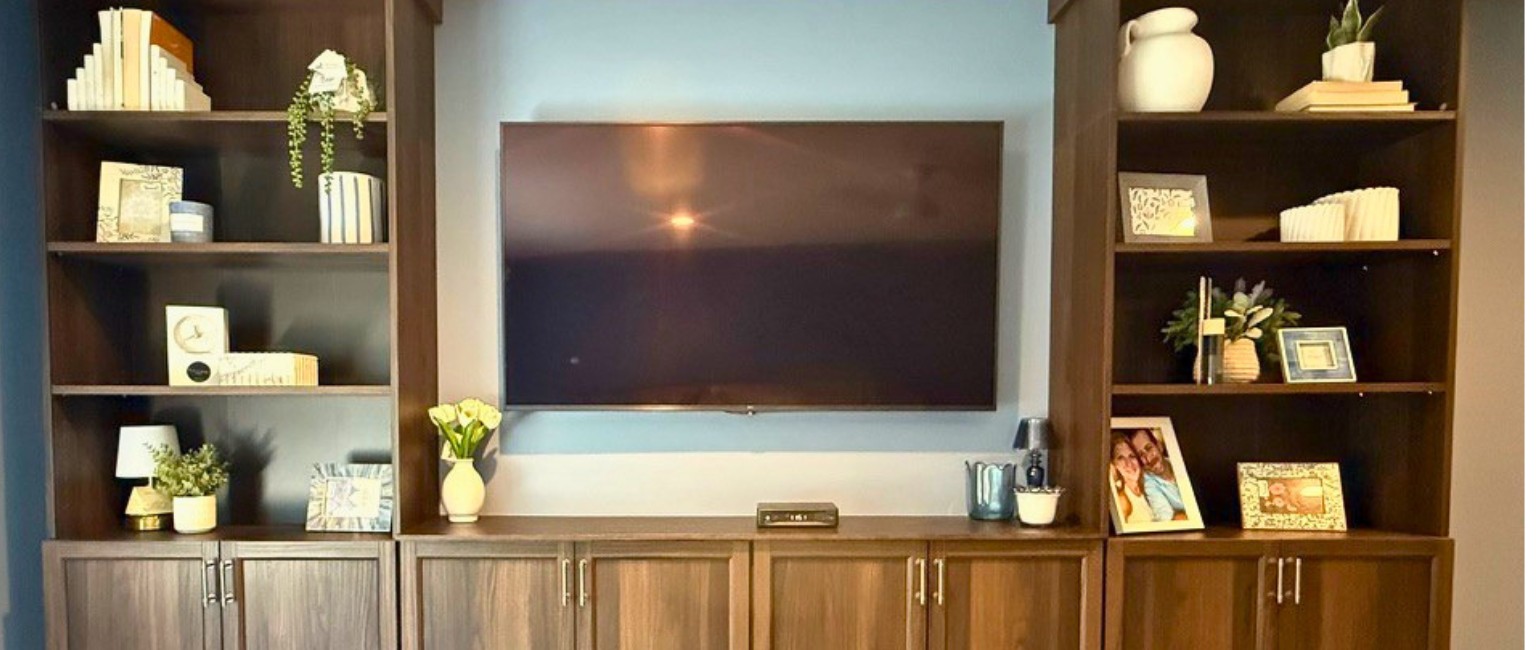
Most built-ins make a room feel smaller. This one doesn’t.
If you’ve been dreaming of custom built-ins but worry they’ll eat up valuable floor space, you’re not alone.
Traditional built-ins often extend 18–24 inches from the wall. While that depth works well in larger living rooms, it can quickly eat into valuable walking space in bedrooms, home offices, or anywhere every inch counts.
When I designed this bedroom media wall, I had one goal:
Create the look of custom built-ins without sacrificing the floor space between the bed and the wall.
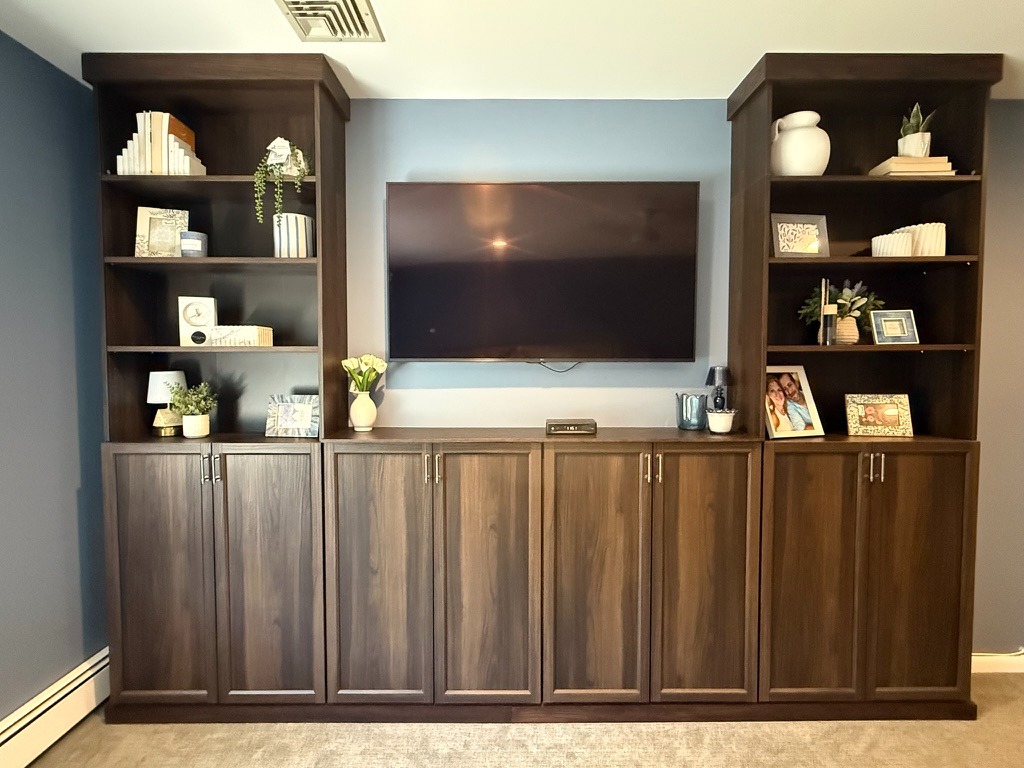
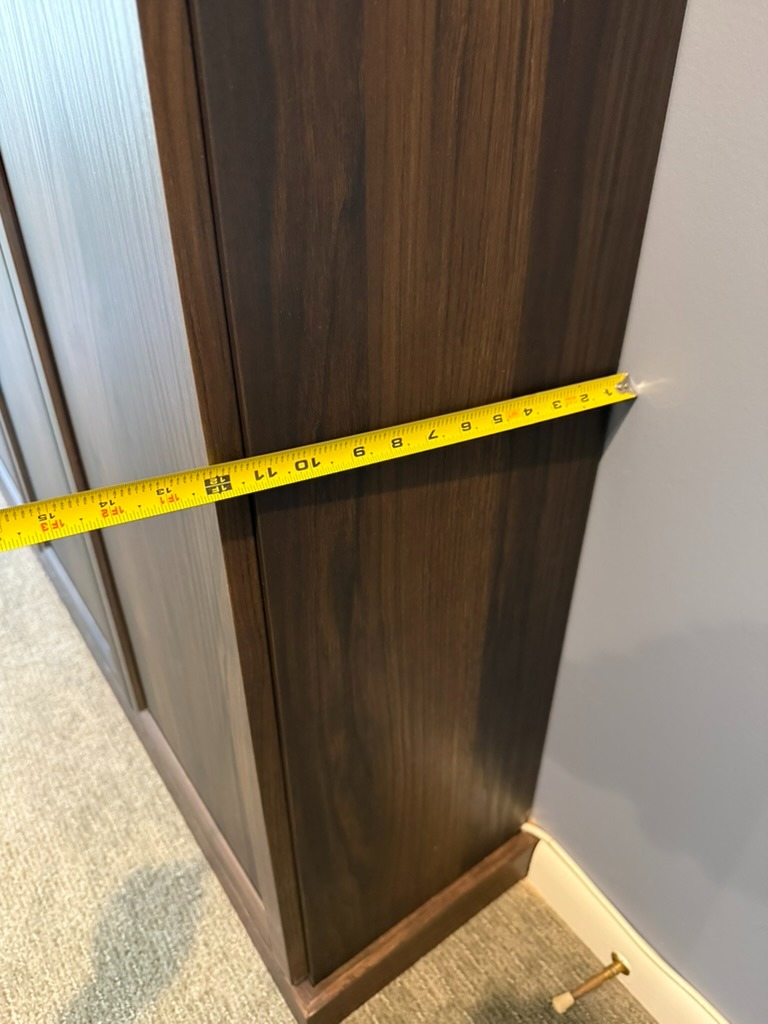
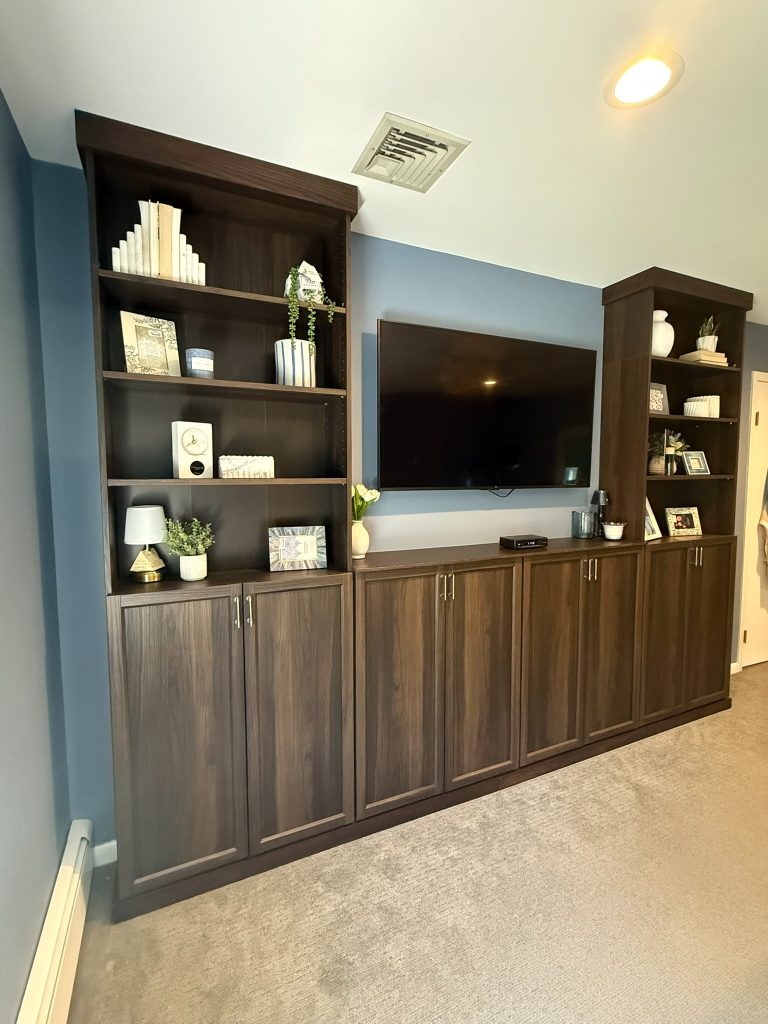
The solution? A combination of IKEA Billy bookcases, a custom countertop, and a few thoughtful design details that kept the entire project under 12 inches deep—while still looking like it was built specifically for the room.
Why Depth Matters More Than You Think
When people start planning built-ins, they usually focus on one thing:
How wide is my wall?
But I think there’s another question that’s just as important:
How much floor space can I comfortably give up?
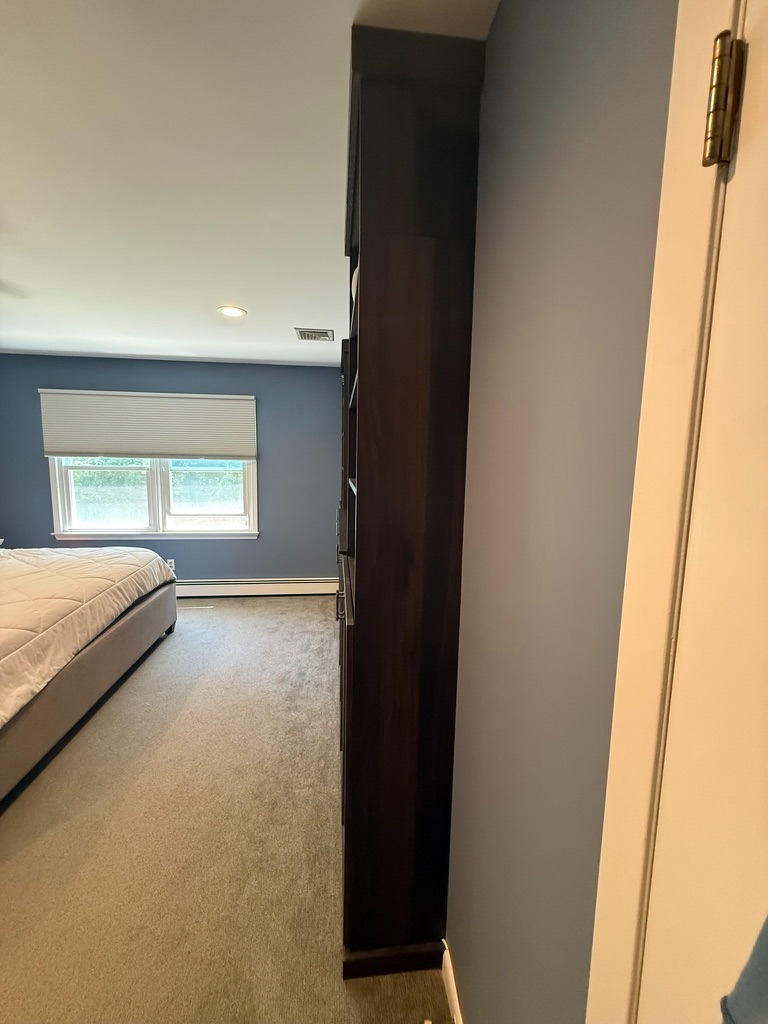
In this bedroom, the wall itself was plenty wide enough for built-ins. The challenge was maintaining enough room to comfortably walk between the foot of the bed and the TV wall.
Had I built this using traditional cabinetry, the room would have felt noticeably tighter. Instead, I intentionally chose a much shallower solution that still provided display space, concealed storage, and the polished look my client wanted.
At less than 12 inches deep, the built-ins provide plenty of storage without dominating the room.
Think Like a Designer, Not Just a DIYer
One thing I always remind clients is that great design isn’t about adding the biggest or most expensive feature you can fit into a space.
Sometimes it’s about knowing when to use less.
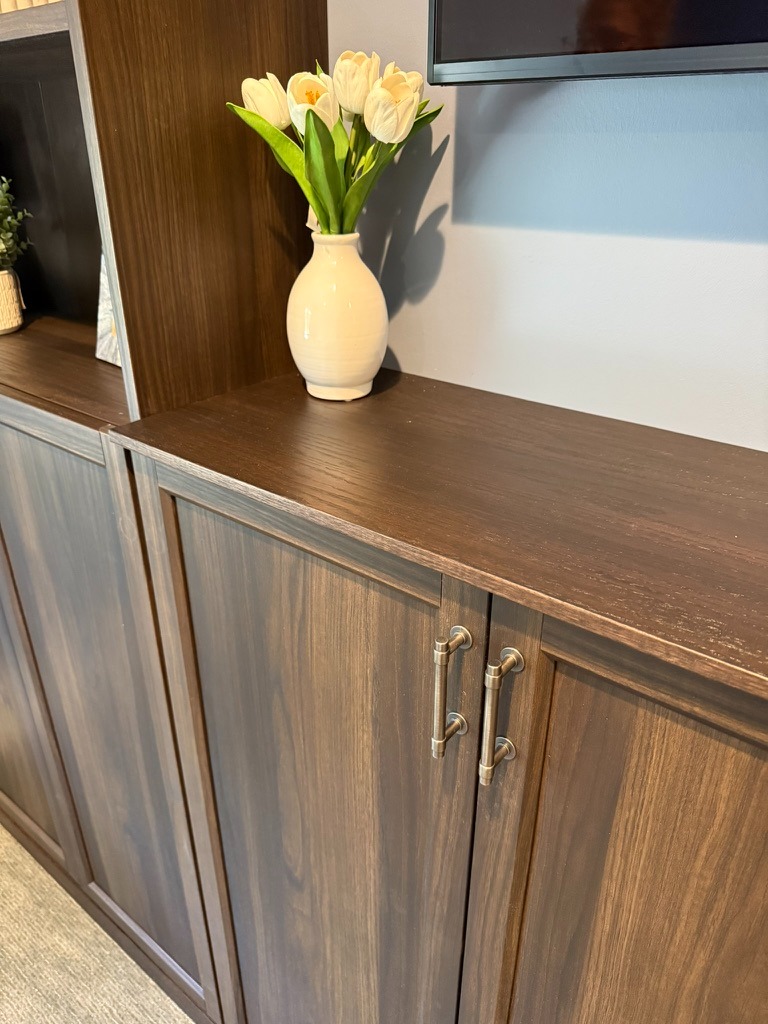
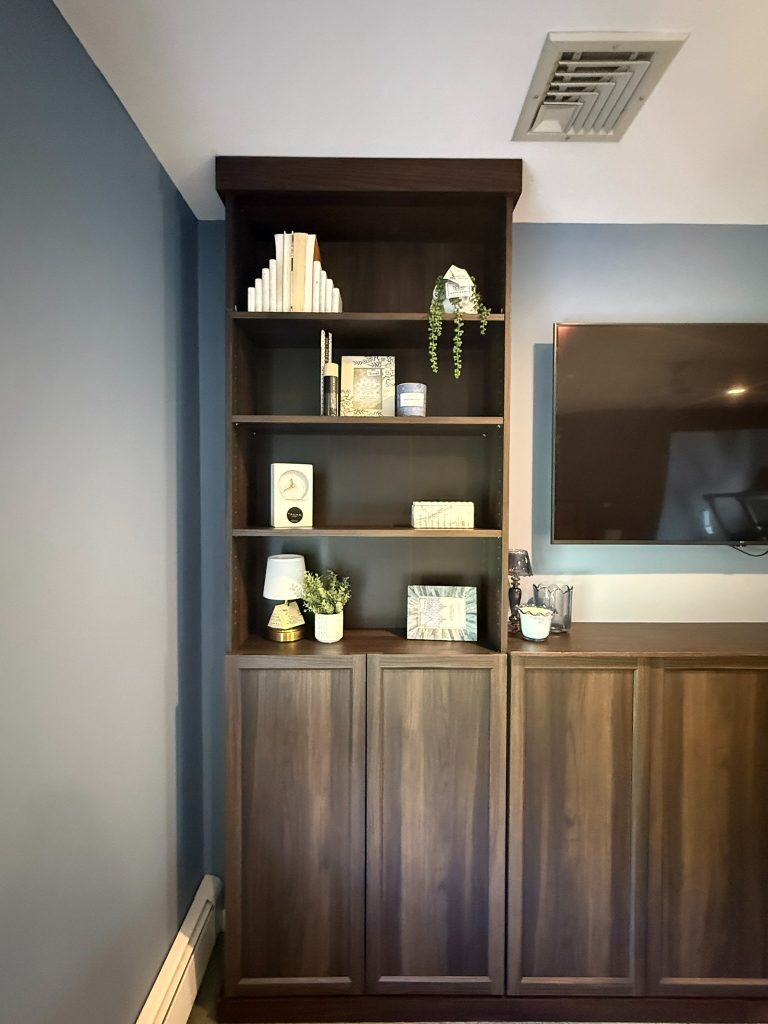
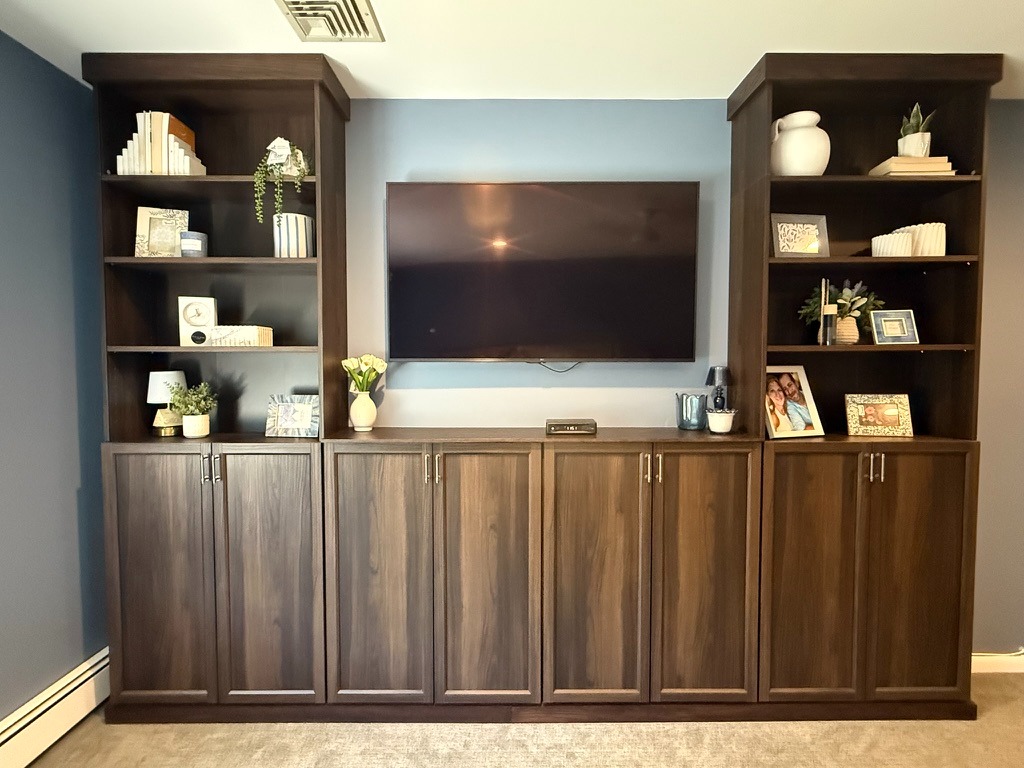
Instead of deep cabinets, I chose shallow IKEA Billy bookcases as the foundation for this project. Once they were topped with a continuous custom countertop and finished with crown molding, the entire wall began to read as one cohesive built-in rather than a collection of individual bookcases.
It’s one of my favorite examples of my philosophy:
Luxury is a feeling—not a price tag.
Sometimes luxury simply means creating a room that feels open, intentional, and easy to live in. In this case, sacrificing a few inches of cabinet depth made a much bigger impact than adding a few more inches of storage ever could.
Why I Love This Approach
Using shallower built-ins offers several advantages beyond simply saving space.
- The room feels more open.
- Walking paths stay comfortable.
- The TV becomes the focal point instead of bulky cabinetry.
- The shelves are still deep enough for books, framed photos, baskets, and decorative accessories.
- The finished project feels custom without overwhelming the room.
- It’s a budget-friendly alternative to fully custom millwork.
Most visitors would never guess these built-ins project less than one foot from the wall.
Where This Idea Works Best
While I used this approach in a bedroom, the concept works in plenty of other spaces, too.
Consider shallow built-ins if you’re designing:
- A bedroom media wall
- A home office
- A Guest room
- A condo or apartment
- A playroom
- A bonus room
- Any space where maintaining open floor area is important
If you’ve been avoiding built-ins because you assumed they’d make your room feel cramped, this type of design might completely change your perspective.
The Details That Helped These IKEA Bookcases Look Custom
The IKEA products are only part of what makes this project successful.
The custom details are what truly elevate the finished result.
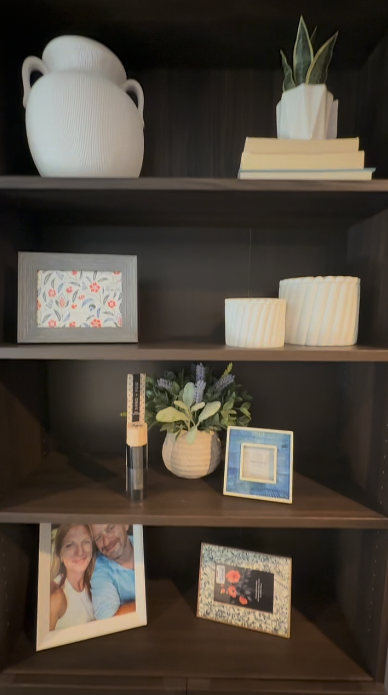
A few of the details that helped these IKEA bookcases look custom include:
- Extending the crown molding all the way to the ceiling.
- Using one continuous countertop to visually connect each cabinet into a single built-in.
- Styling the shelves with a mix of books, artwork, and decorative objects rather than filling every inch.
- Keeping a consistent color palette throughout the room.
- Choosing hardware that complements the overall style of the space.
I also added a cable grommet to the countertop so the cable box could sit on top while the cords disappeared neatly through the countertop and plugged into the outlet below. It’s a small detail, but eliminating visible cords makes a huge difference in helping the finished project feel truly custom.
These are the little details that transform off-the-shelf furniture into something that feels thoughtfully designed.
Final Thoughts
Built-ins don’t have to dominate a room to make a big impact.
In fact, sometimes the best design decision is the one you barely notice.
By keeping this project under 12 inches deep, I was able to create plenty of storage, frame the television, and add architectural interest—all while preserving the open feel of the bedroom.
Sometimes the smartest design choice isn’t adding more.
It’s knowing exactly how much is enough.
If you’re thinking about creating a similar built-in, I’ve rounded up the products and materials that made this project possible.
Resources for This Project
If you’re planning a similar built-in, I’ve rounded up the products and materials that helped bring this project together.
Inside my ShopMy collection you’ll find:
- The IKEA Billy bookcases and components I used for this project
- My custom stain recipe to match IKEA’s dark brown finish
- The crown molding and baseboard that gave the built-ins a custom look
- The cabinet hardware I used
- My go-to DIY tools for IKEA built-ins and woodworking projects
🛒 Browse all the products and materials I used
💡 Jenn Tip:
Don’t wait until the built-ins are finished to think about electronics. Planning where cords, cable boxes, and outlets will go from the beginning is one of the easiest ways to help transform your project from a collection of furniture into a true built-in.