
Materials, Supplies, & Tools:
sandpaper (use 180-220)
Paint supplies (paint, roller, & tray)
After installing a geometric accent wall for my very first client, she hired me to design and install another accent wall in her guest room.
We decided on an X pattern, and I drew up two options for her to choose from.
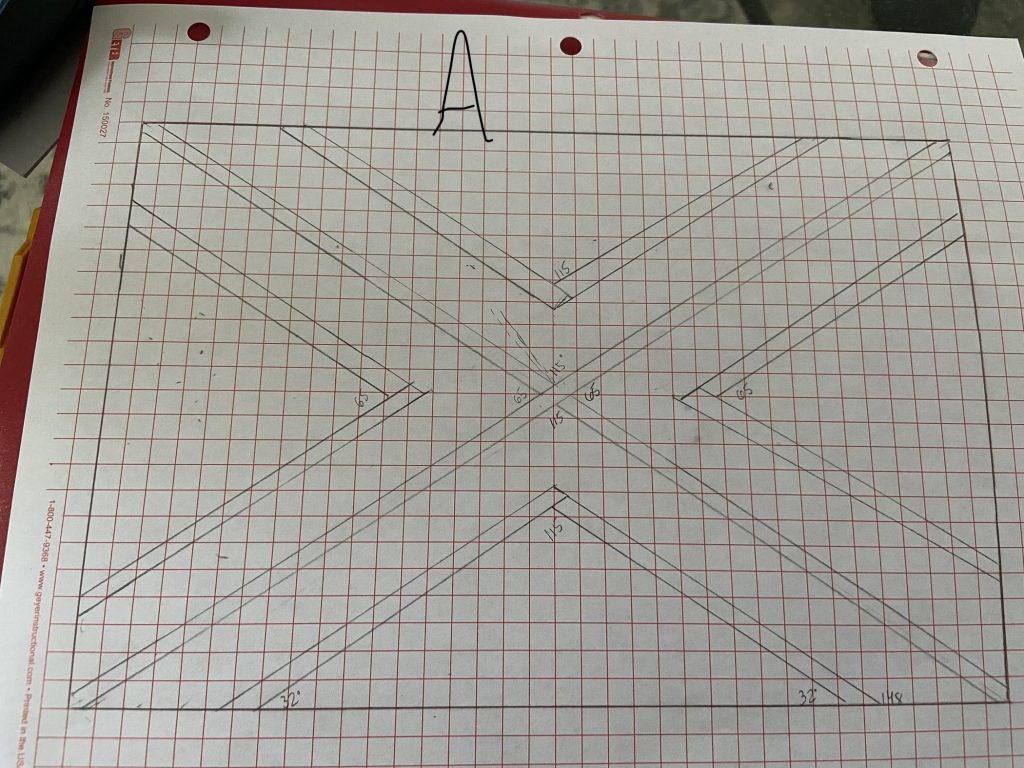 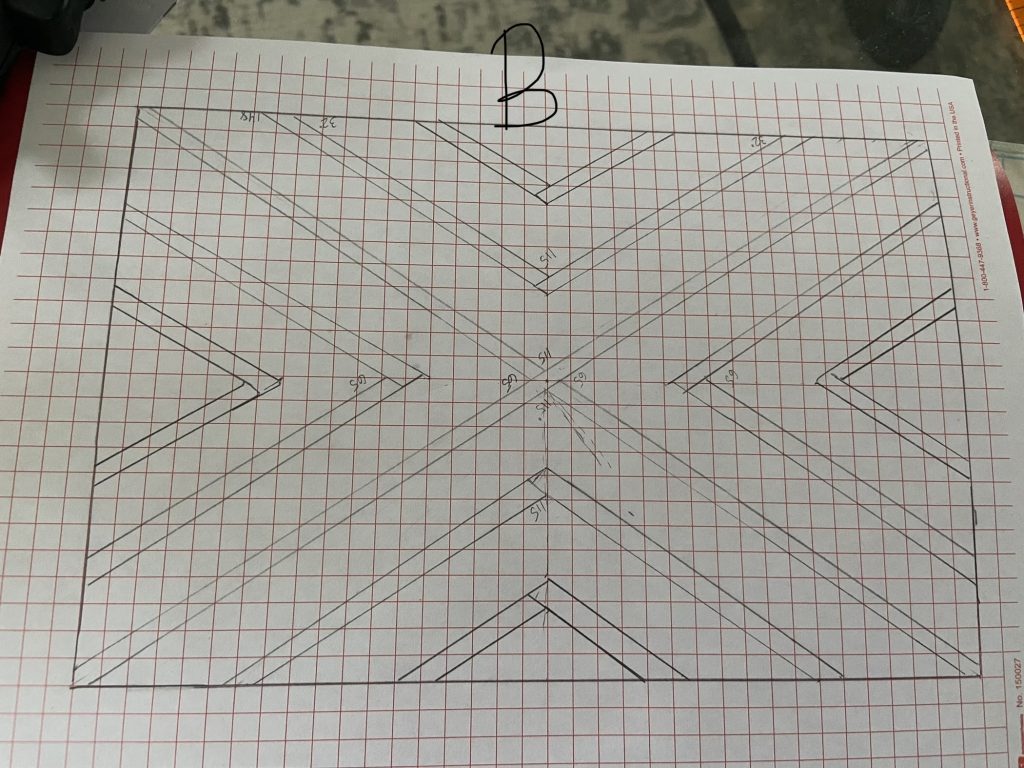 |
My math loving brain loved figuring out the angles and approximately how much material I’d need. For those of you who don’t know, I’m a former math teacher!
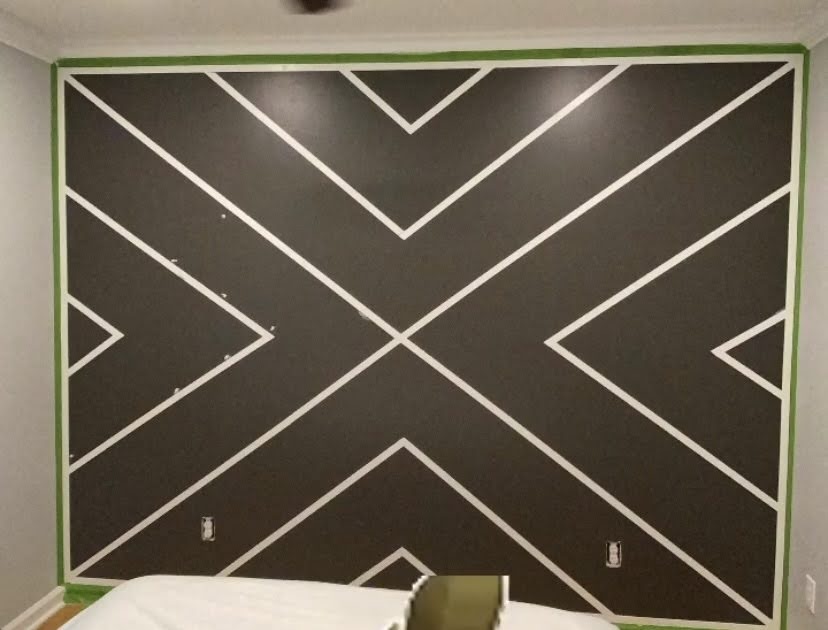
We ended up agreeing on option B, and I started much like the last project, I painted the wall first. This time, we went with the popular and beautiful Urbane Bronze from Sherwin Williams.

I chose to use PVC lattice trim, which was easily cut using miter shears, and saved me a ton of time and effort from running back and forth to the miter saw. I attached the trim using my 18-gauge nail gun with 1-inch brad nails. The angles on this design were a bit more complex than the 45 degree angles I used on the last wall (you can find that project here), but nothing a little trial and error couldn’t solve! The key to this design is making sure that the angles and spacing are all equal. You can tell that I messed up on the left side and had to reposition two pieces of trim.
Luckily, I didn’t run into any outlets!
After the trim was installed, it was time to fill holes and caulk the seams…yay! This can be a painstaking step, but ultimately, it will help make the design seamless. To fill these holes, you can use wood filler or spackle…both can be sanded flush.
After the holes were filled and sanded smooth, and the caulk was dry, I painted the trim Urbane Bronze for a monochromatic look!
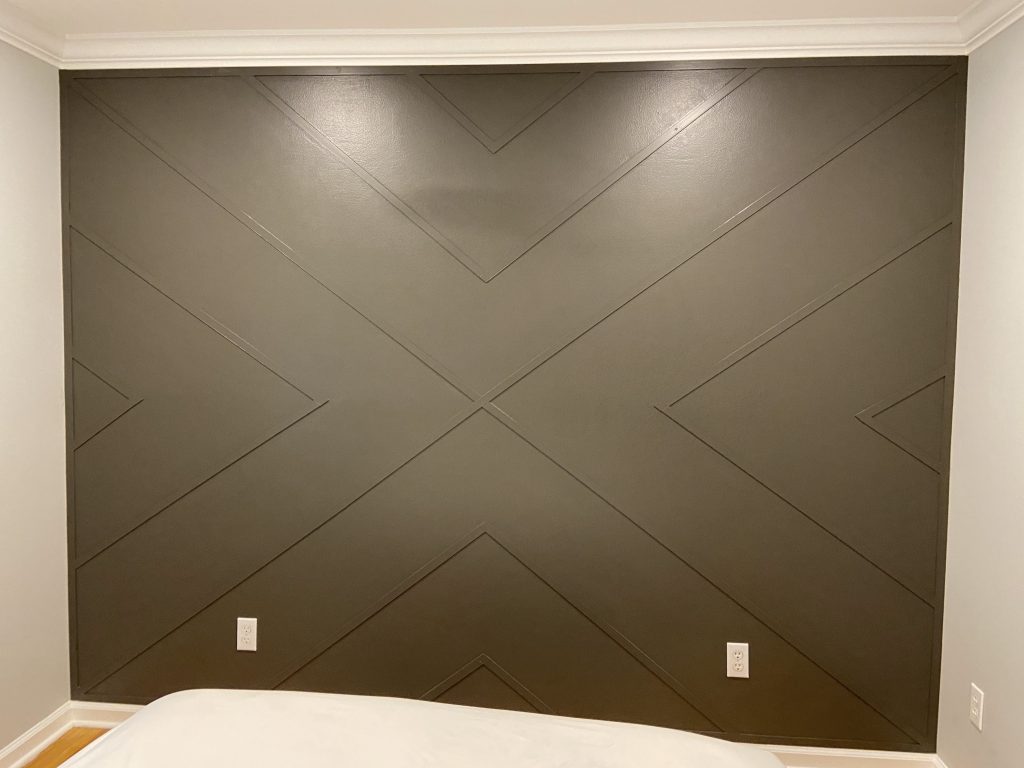
What do you think of this statement accent wall?


