
My first big solo project!
This small, but full, bath was the first project I took on by myself, following several DIY projects that my partner and I completed in our fixer upper home.
Disclaimer: this post contains affiliate links. That means that if you purchase items using my provided link, I will earn a small commission at no extra cost to you. Thank you for supporting me!
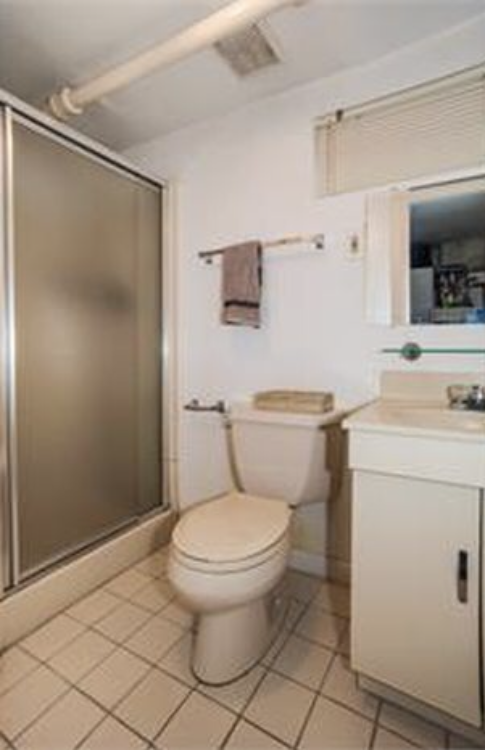
This basement bathroom was nothing to write home about…nothing! We used it for maybe the first year of living here while we renovated our main bathroom. This small space, with an even tighter shower stall, definitely felt like a basement bathroom!
My original plan was to update this space cosmetically (…notice “original”) with a relatively low budget. The plan was to keep the vanity and update its doors, remove the wallpaper on the walls, paint the shower stall, and update the faucets, lighting, mirror, and decor. I know it may sound like a lot but it’s less than 40 square feet, and I wasn’t planning to do anything involving major plumbing or electric so I felt comfortable taking this on alone.
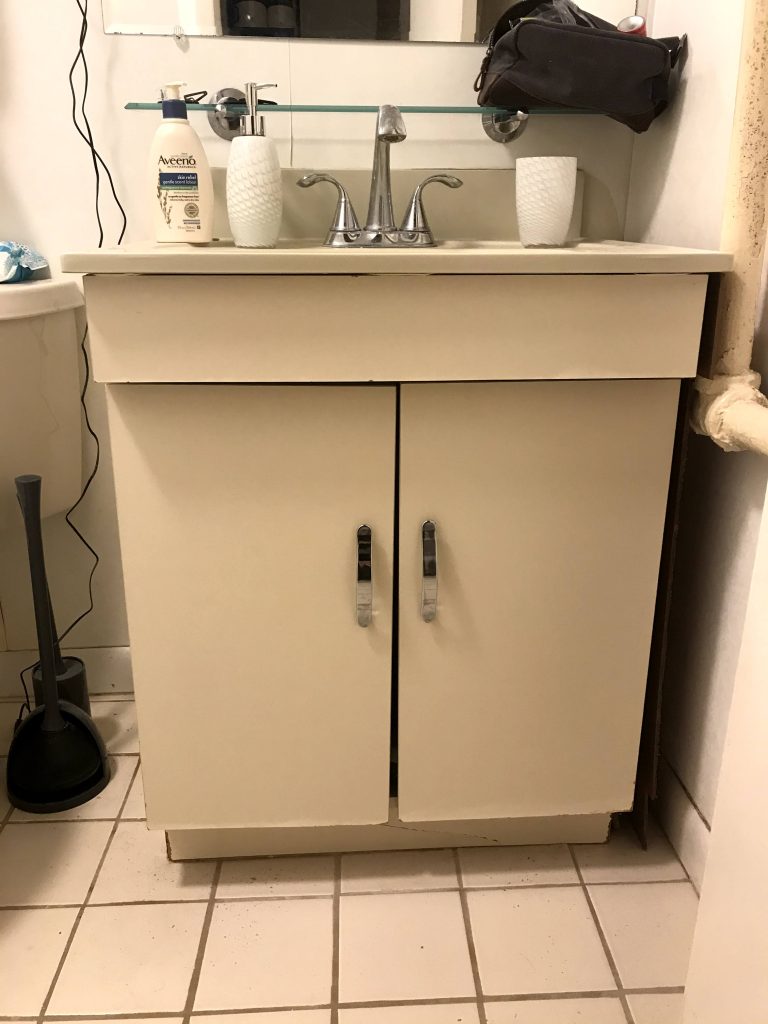
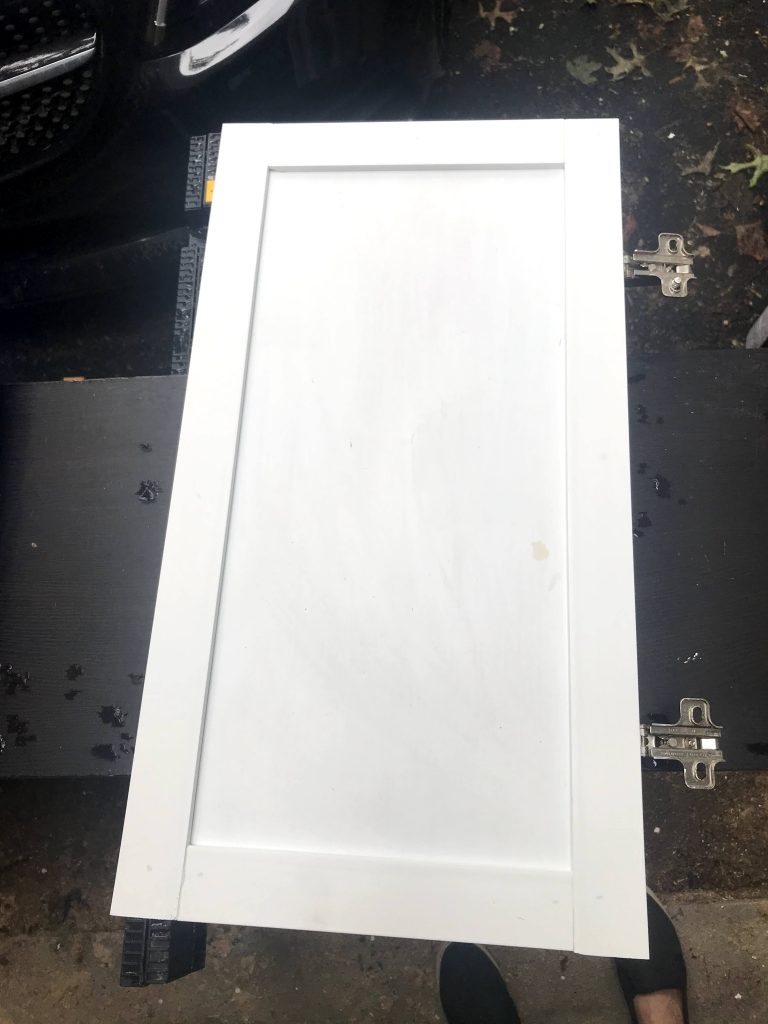
First up was updating the vanity doors. I figured if I started with a simple project, I’d gain momentum, build some confidence, and be ready for the following projects! My goal was to use trim and paint to transform them into a modern navy, shaker door, and to use gold spray paint on the existing hardware (if spray paint can fix it, you better believe I’m using it!). I ended up using PVC lattice trim from Home Depot to create the rails and stiles. This is a great beginner project because you can use miter shears and adhesive to attach them! No fancy tools needed. However, I attached them using my 18-gauge Ryobi brad nailer, then filled the holes with my favorite wood filler and sanded any excess wood filler once it was dry. I used Behr paint in the color “Velvet Rope” and while the blue paint doesn’t look navy in the picture, it was!
  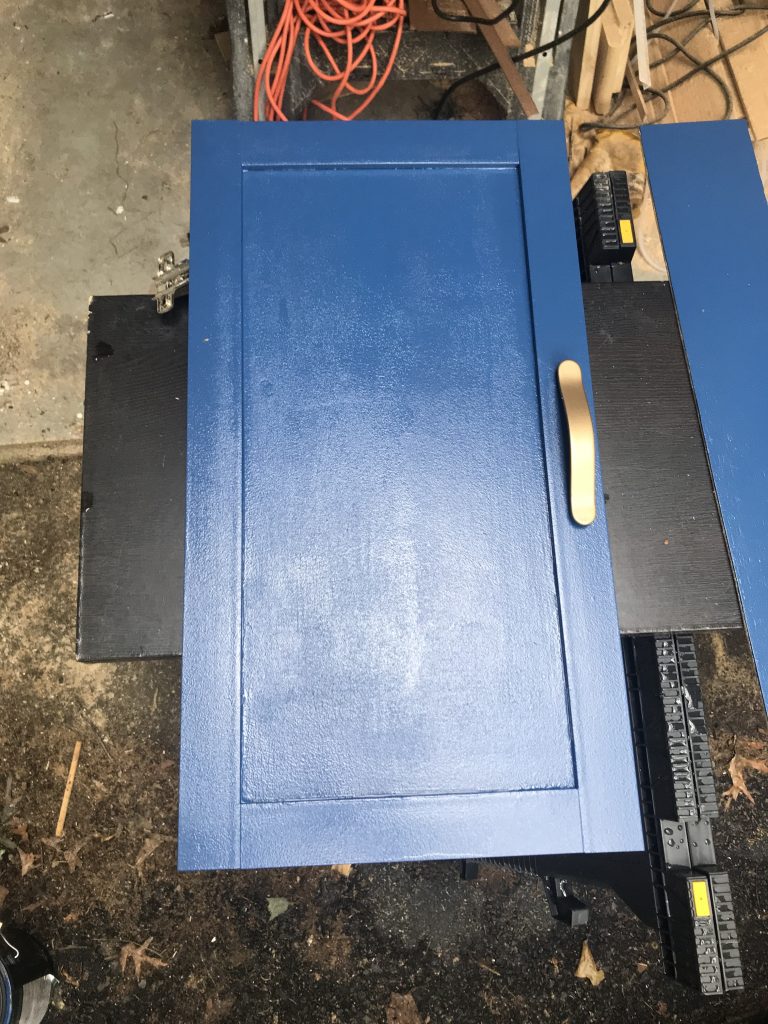 |
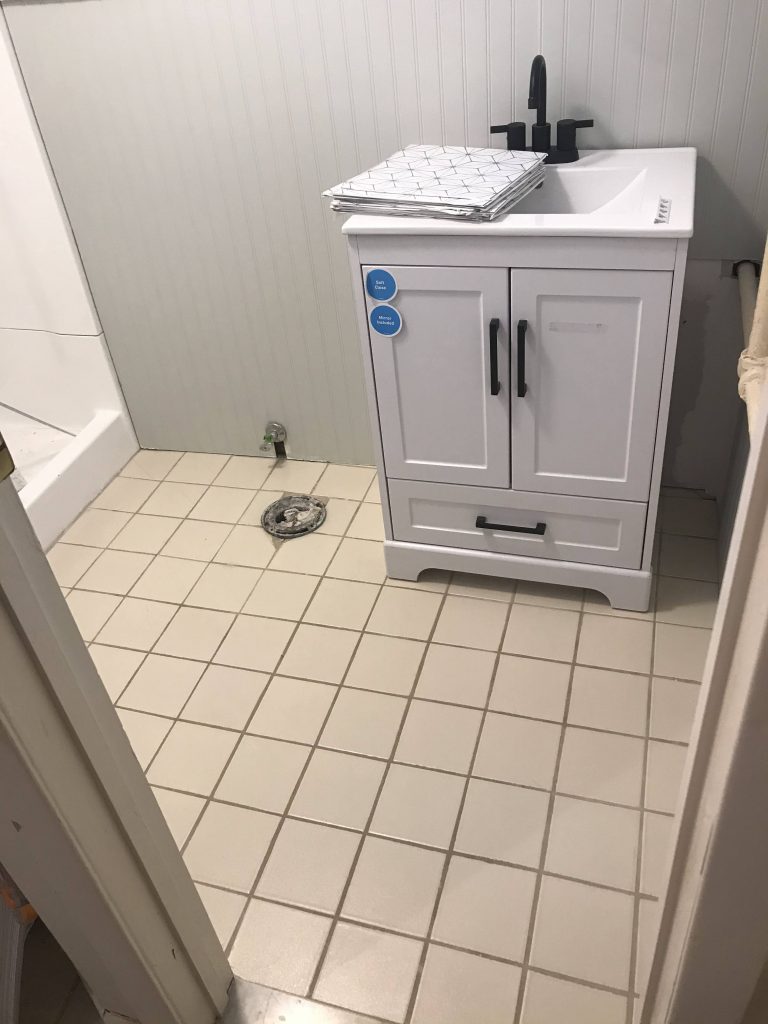
Next up was to spray paint the hardware gold and drill new holes through the PVC trim. I used Rust-Oleum Metallic in Bronze, and did two coats. Since I covered the original front holes with trim, I used the holes on the back of the doors as a guide when drilling new holes. Easy peasy. After attaching the newly updated hardware, I needed to update the vanity itself, and here’s where I ran into the first issue…MOLD. UGH! We ended up finding mold on the vanity and obviously decided to buy a new one. And so the “scope creep” begins.
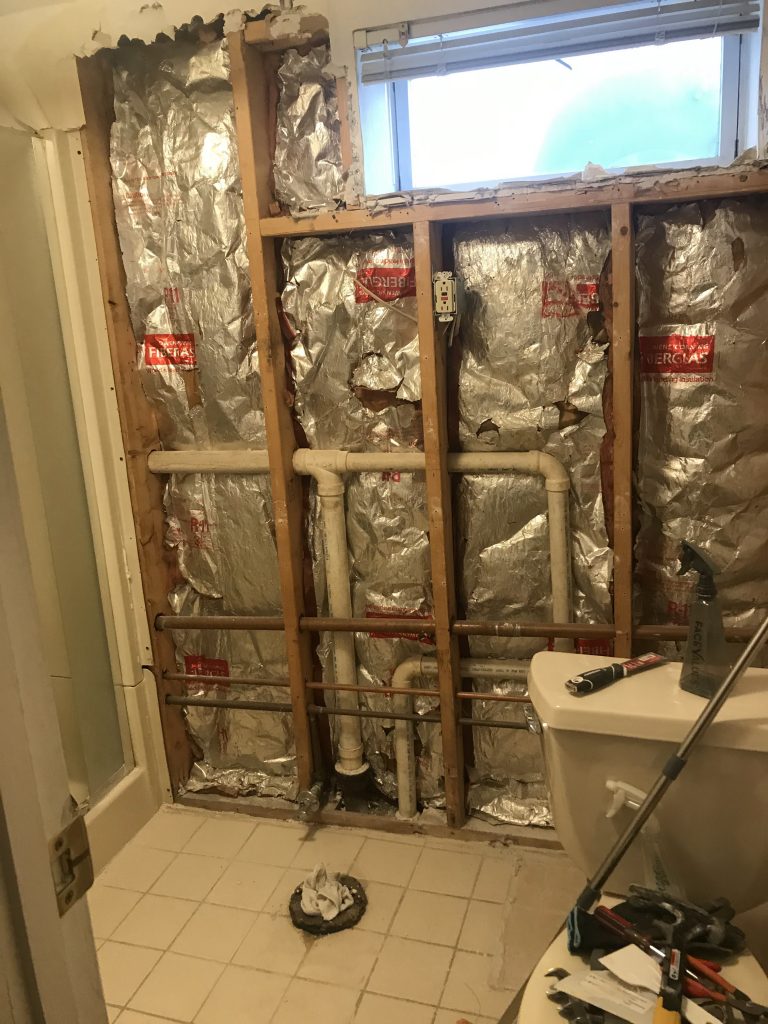
With the vanity removed, I began the thrilling task of removing wallpaper. Good times. I started by picking at the loose pieces at the seams. Then I tried the fabric softener mixture in the spray bottle concoction…that didn’t end up working well. At the time, I didn’t know about wallpaper remover steamers, so I definitely would try that if I ever need to remove wallpaper again, which I hope is never! Not too far into my wallpaper removal journey…more mold! I made the decision to rip out all the drywall, treat any remaining mold, and install new fire-rated drywall. Thankfully, it’s not a large space, but drywall is not for the faint of heart.
 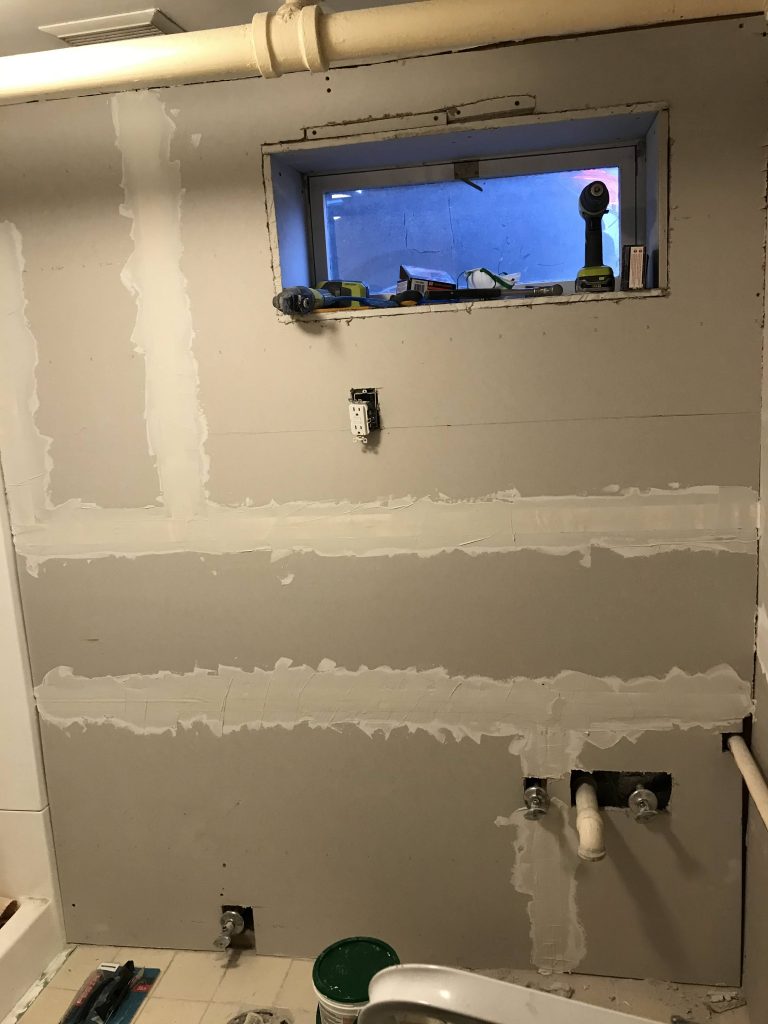 |
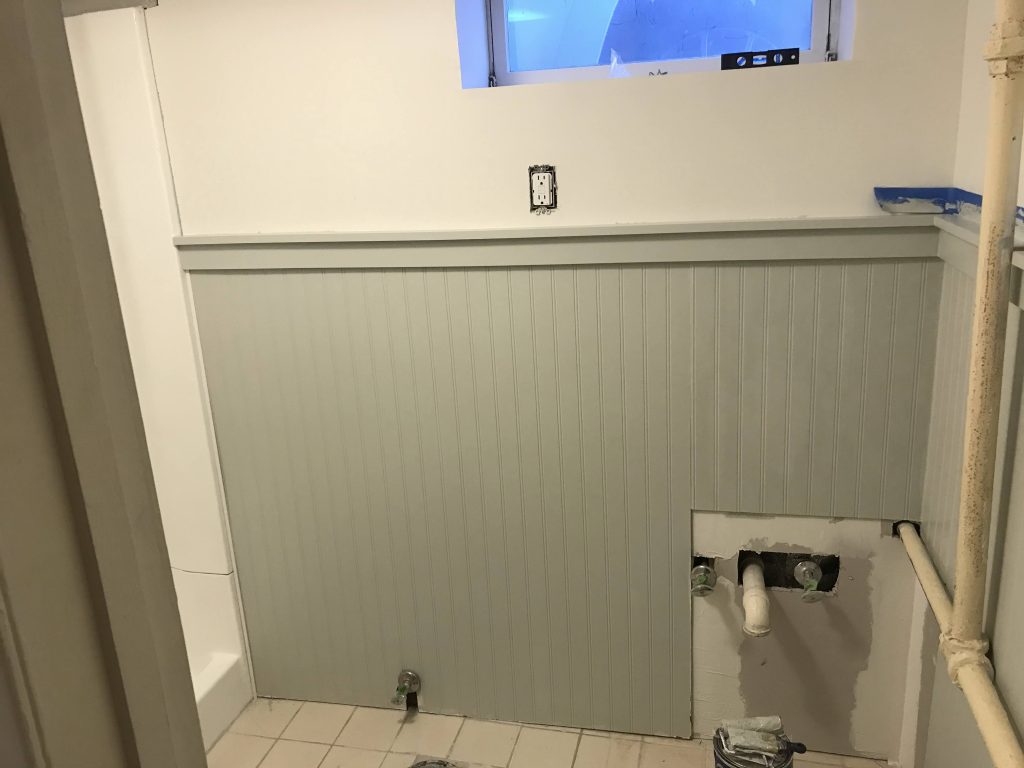
For several reasons, I chose to install beadboard on the bottom portion of the walls, only leaving the tops requiring mud, tape, sanding, etc. I chose a simple 1×3 trim for the baseboards and for the top of the beadboard, followed by a 1×2 to form a little ledge…aka dust collector! I caulked my seams (with paintable caulk!), and painted the beadboard and baseboards with Gray Owl by Benjamin Moore. After mudding and sanding the top portion, and mudding and sanding some more, I used drywall primer before applying two coats of Sherwin Williams Alabaster.
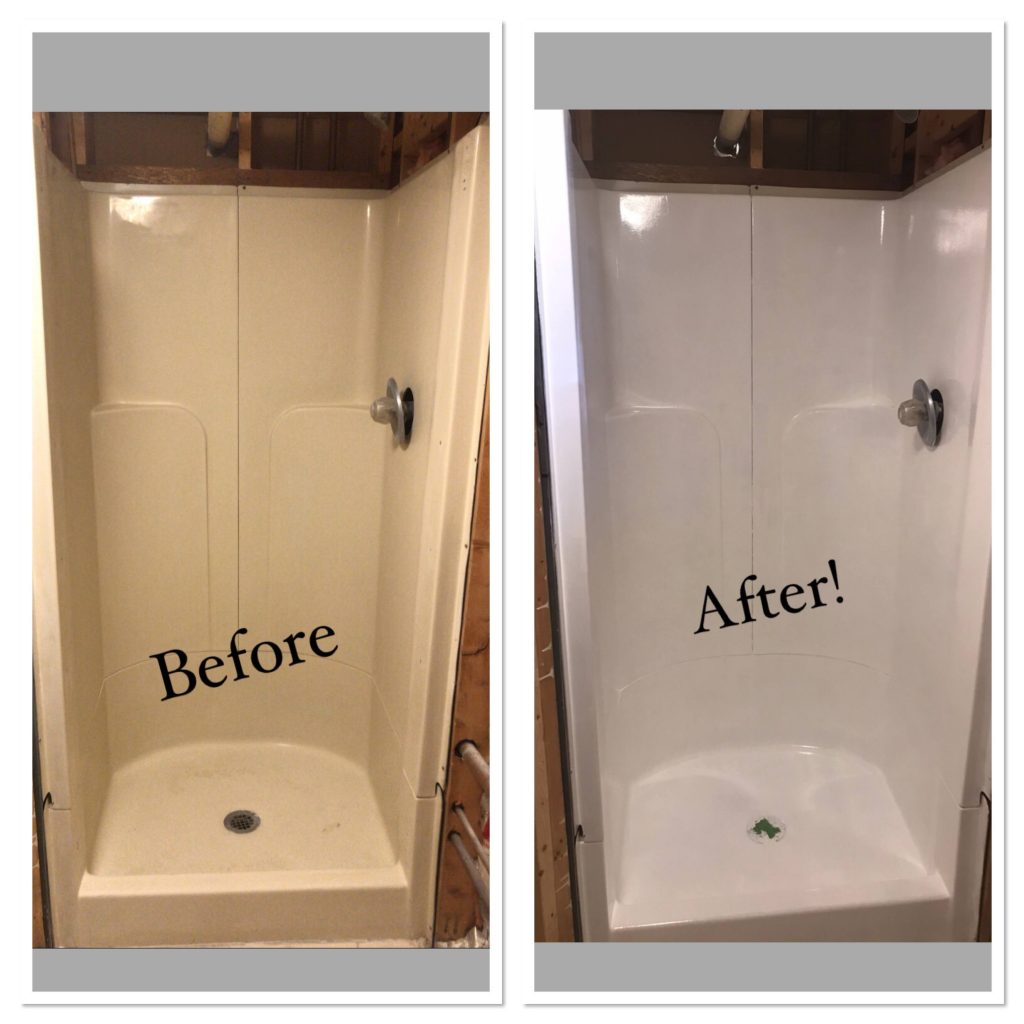
With the walls done, it was time to tackle the world’s smallest shower stall. For this, I decided to use Rustoleum’s Tub & Tile Refinishing kit in white. Before starting, I cleaned the stall really well with TSP and repaired a few chips with a two part epoxy. When it was time to start the refinishing, I followed the directions to a T, including opening all available windows, running the bathroom fan, and wearing a respirator…man that stuff is potent!! The shower required three coats (2 kits worth), with time in between to dry. Don’t be like me, and think one kit will do the trick and then wait for the 2nd kit to be delivered. Just buy the extra! You can most likely return whatever is unopened after your project.
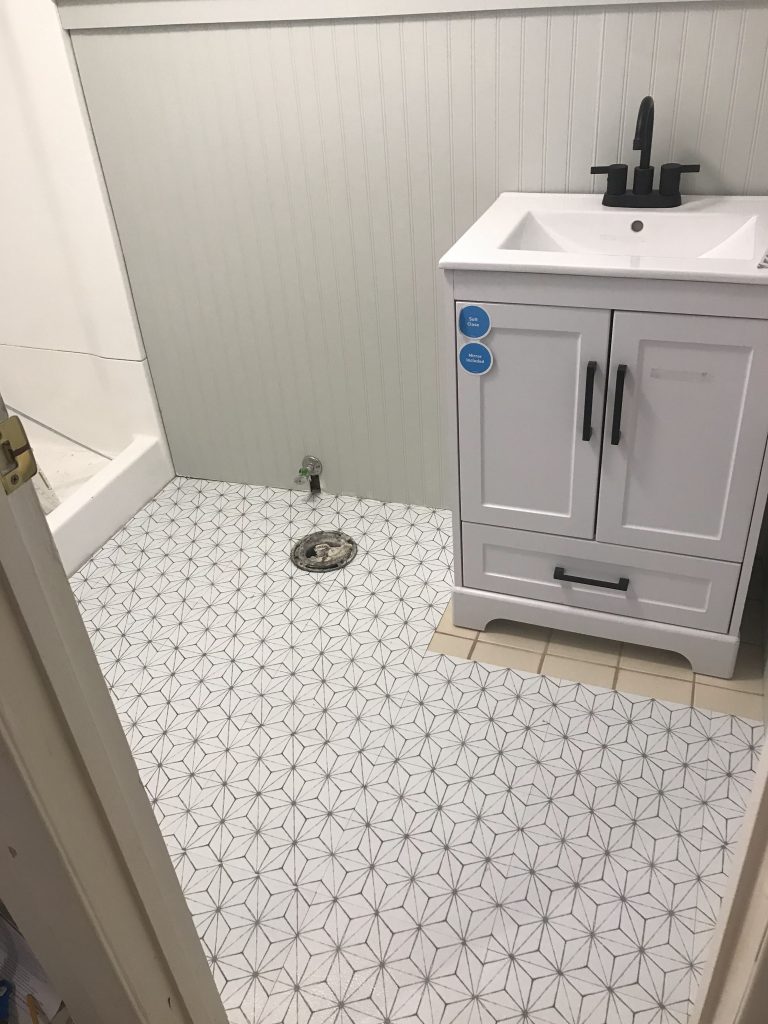
Are we done yet? Almost! The tile floor, while boring and old, was in perfect condition and we couldn’t justify ripping it up, nor did I want to. Our options were to paint it or cover it. We chose to cover it with a printed peel and stick tile. These were really easy to work with, and yet again, I didn’t buy enough and needed to wait after ordering more. Anyway, after cleaning the floor really well, the tiles went down relatively easy. I used my craft cutter when making longer, straight lines, and a regular scissor with other more intricate cuts. When the flooring was done, the 1×3 baseboards were attached, and the new vanity was ready to be installed.
  |
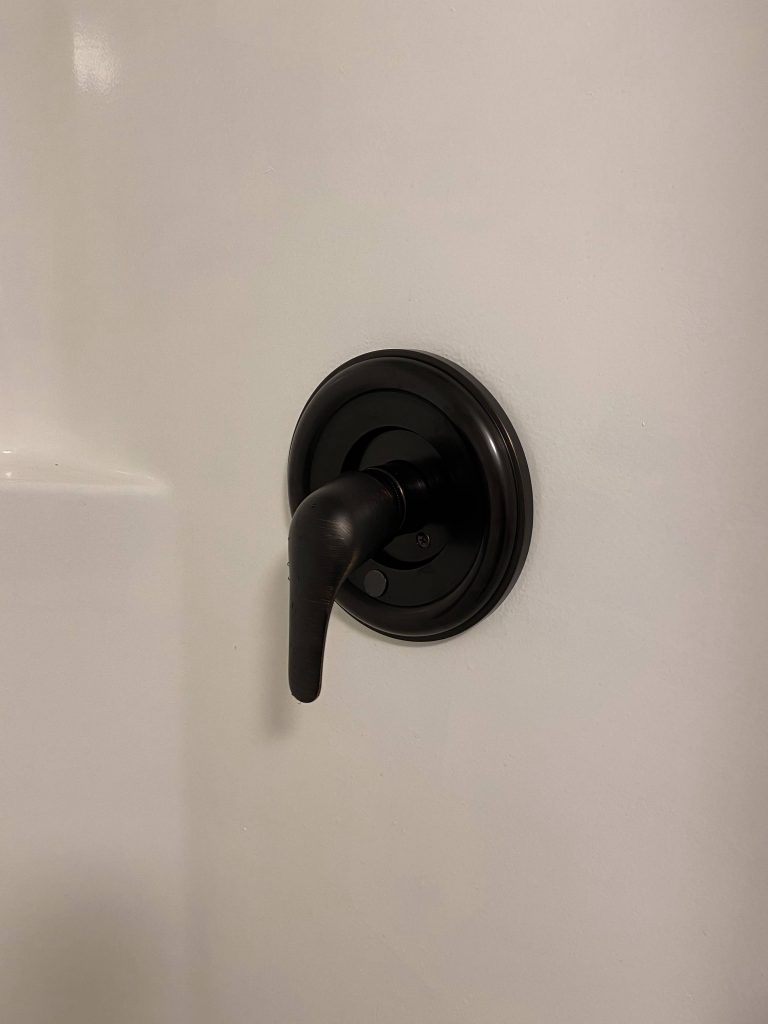
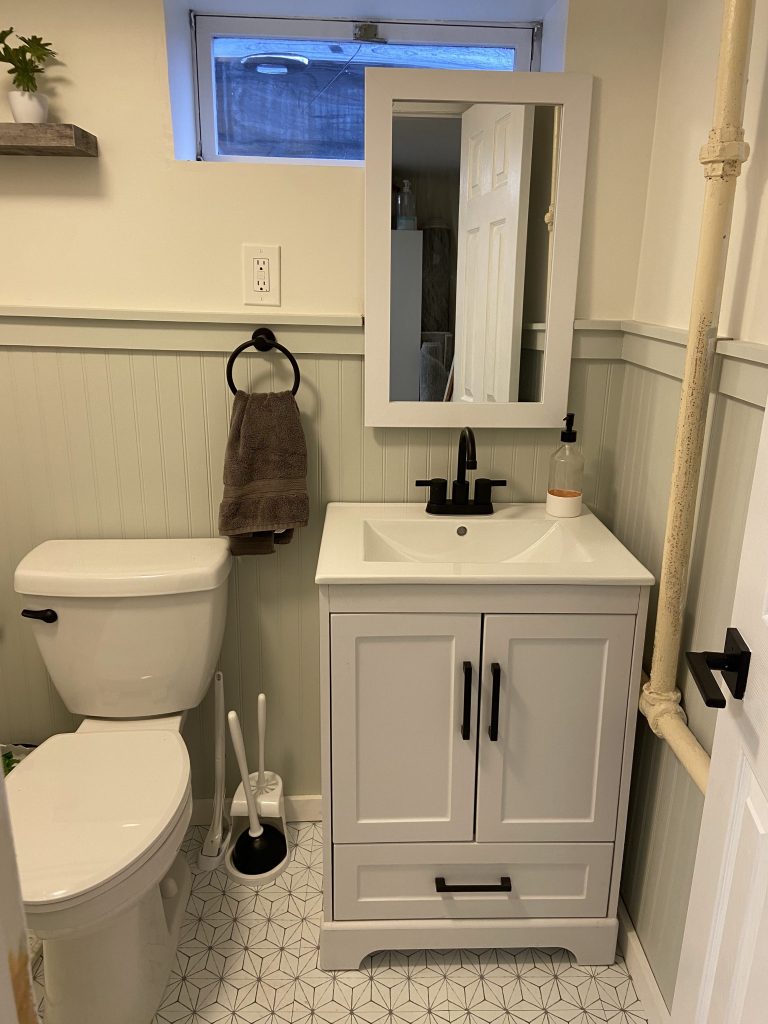
When it comes to plumbing and electric, I know my limitations but if it’s something I think I can figure out, I will try to do it myself. My thoughts are “If I’m going to call a professional, I might as well try it myself first!” Although I did get the vanity into place, attached the new faucet, and correctly installed a new P-trap, there was a small leak I just couldn’t figure out, and a plumber came out to finish the last 5% of this install. We decided to go with black fixtures in this bathroom, so I also installed a new black shower head and shower trim kit. (I actually think it was antique bronze because it was cheaper and looked black!) Fun fact: shower kits typically require you to know which brand valve you have because each brand requires a specific kit to fit correctly. I ended up getting lucky with a universal trim kit and was able to successfully install it myself! I don’t think I was ever as excited about a shower handle!
If you’ve ever researched black fixtures, you probably realized how much more expensive black is than chrome or nickel. I was not about to pay double for a black toilet flusher but also couldn’t leave the chrome while everything else was black. So, out came my trusted Rustoleum Spray Paint & Primer in one! I keep a full can of this on hand and should probably buy stock in Rustoleum. Nothing in my house is safe! haha
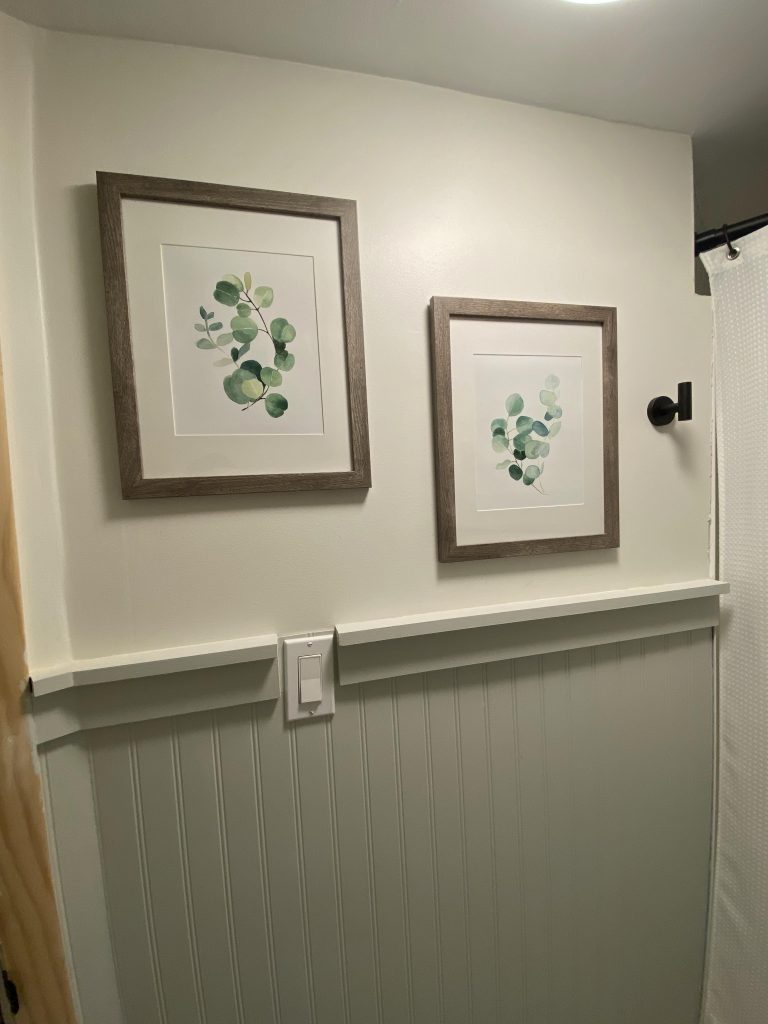
Finishing touches included a new ceiling light, a new mirror, a towel ring, a floating shelf, and some wall art! The window in this bathroom is not in the best place, and proved to make hanging the mirror difficult. And while it may not be the best or prettiest solution, it’s just fine for our basement bathroom. Our ceiling fan vent got a quick coat of white spray paint and a fresh white shower curtain finished up this space. This bathroom was a labor of love, and I learned a TON! Many firsts, including my first and hopefully last time sanding drywall! But in all seriousness, tackling this project gave me the confidence to embark on my DIY journey and to keep moving forward as I add skills and tools to my actual and metaphorical toolbox!
   |


