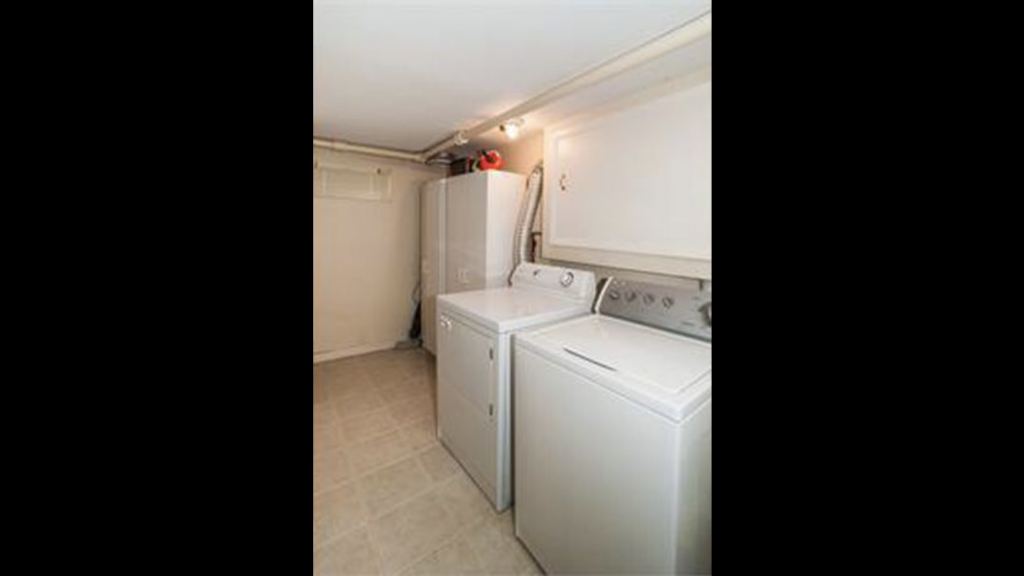
Our basement laundry room was giving boring 90’s vibes. And while a new washer & dryer wasn’t in the budget, they worked fine and I did have some ideas on ways to update the space and make it more functional for our family.
Disclaimer: this post contains affiliate links. That means that if you purchase items using my provided link, I will earn a small commission at no extra cost to you. Thank you for supporting me!
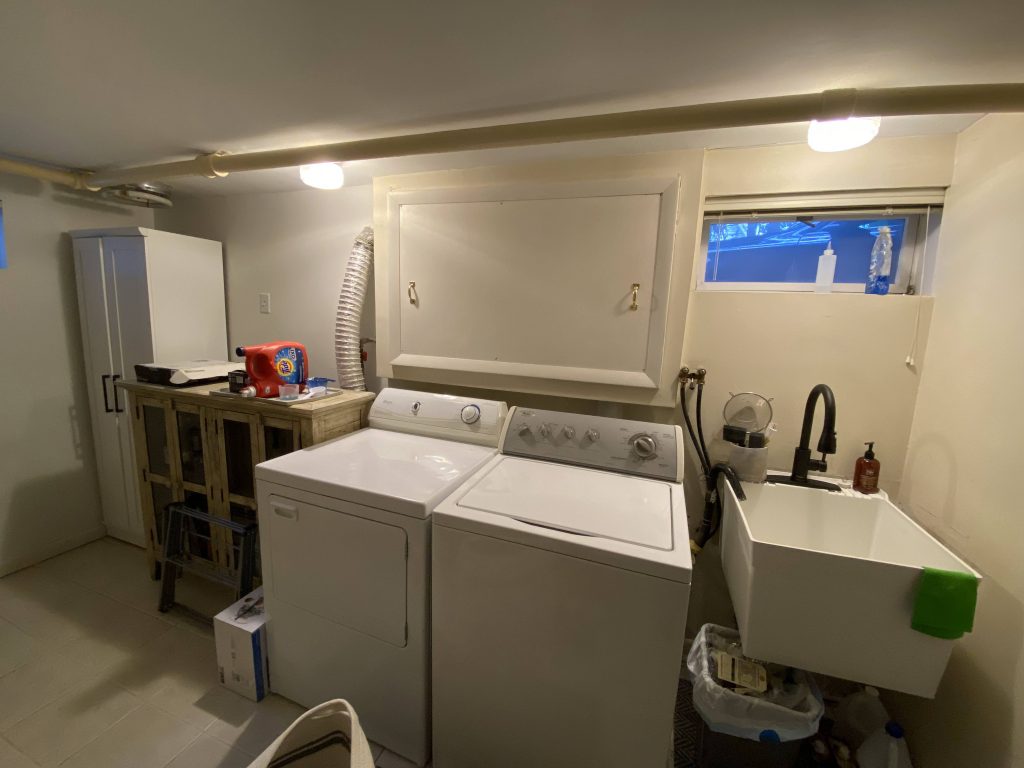
My plan for this space includes a new storage cabinet, a folding counter with storage beneath it, subway tile, “beautifying” the access panel for our plumbing, and a new slop sink. Let’s jump in!
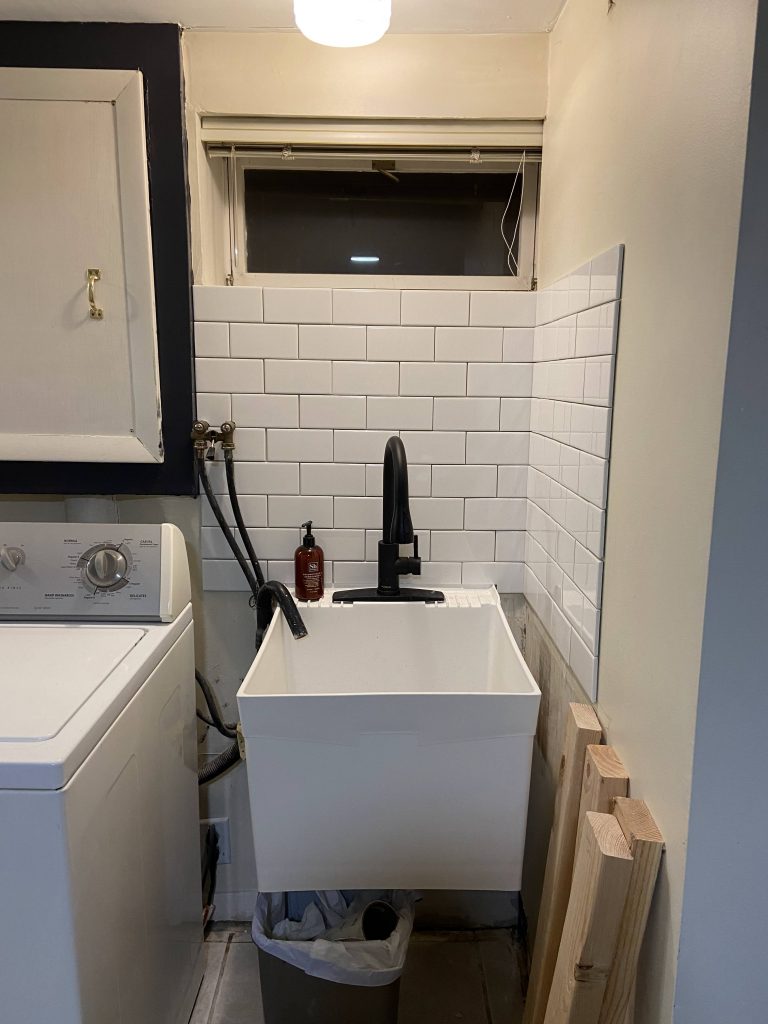
The first thing we did was replace the 2 storage units left by the previous owners with a new one. We left space for the laundry folding counter that I planned to build, and swapped out our slop sink and a new faucet. In addition to our washing machine draining into the sink, I use this sink to clean up after my projects, so it takes a beating. We chose a faucet with a pull down nozzle to help make clean up a bit easier, and I 100% recommend it!
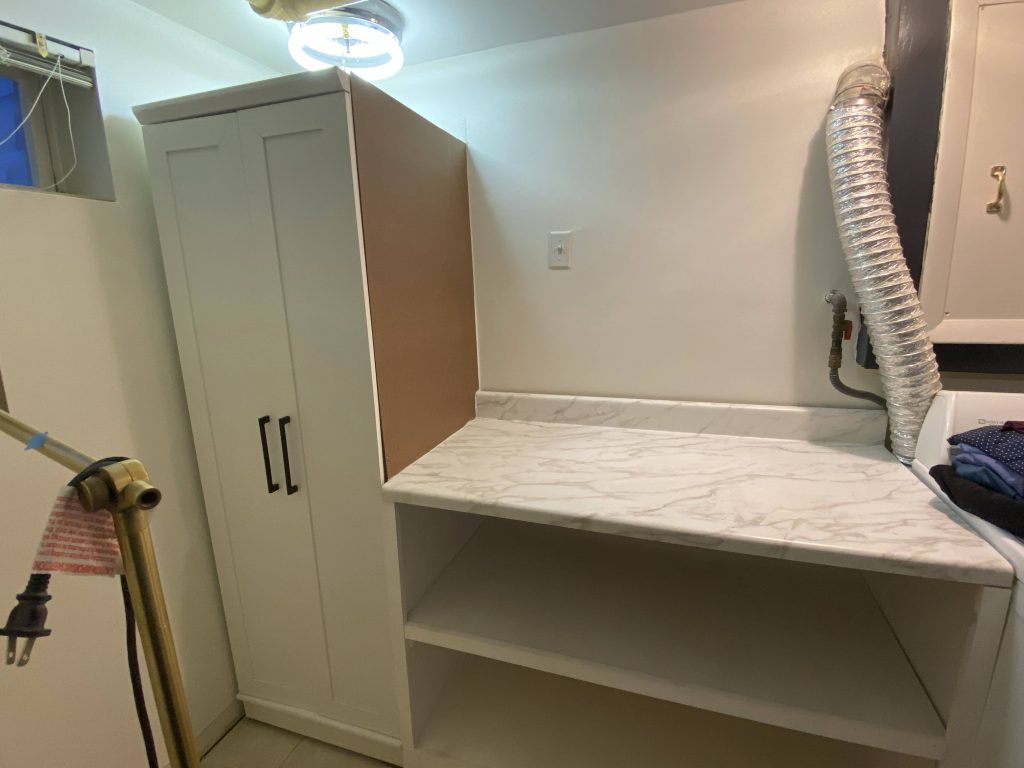
I started to build the laundry folding counter like many other builds: with a base made from 2×4’s and secured into the studs. I then used 3/4″ plywood and pocket holes to construct the body, and put two supports on top that would support the countertop. There’s also one shelf that is supported by cleats around 3 sides, attached to the sides and back wall (stud). While I could totally customize the size of this folding station, my length was limited to the distance between our storage cabinet and our dryer. Luckily, it ended up being close enough to 48″ which was the length of the laminate counter we purchased from Home Depot. I say “close enough” because the extra space was filled with trim. Lastly, the countertop was attached from underneath with wood screws.
We wanted the front of the counter to be flush with the front of the cabinet, but the cabinet wasn’t as deep, so we attached brown board (euca board) to the side to hide the gap, and then painted it white to match.
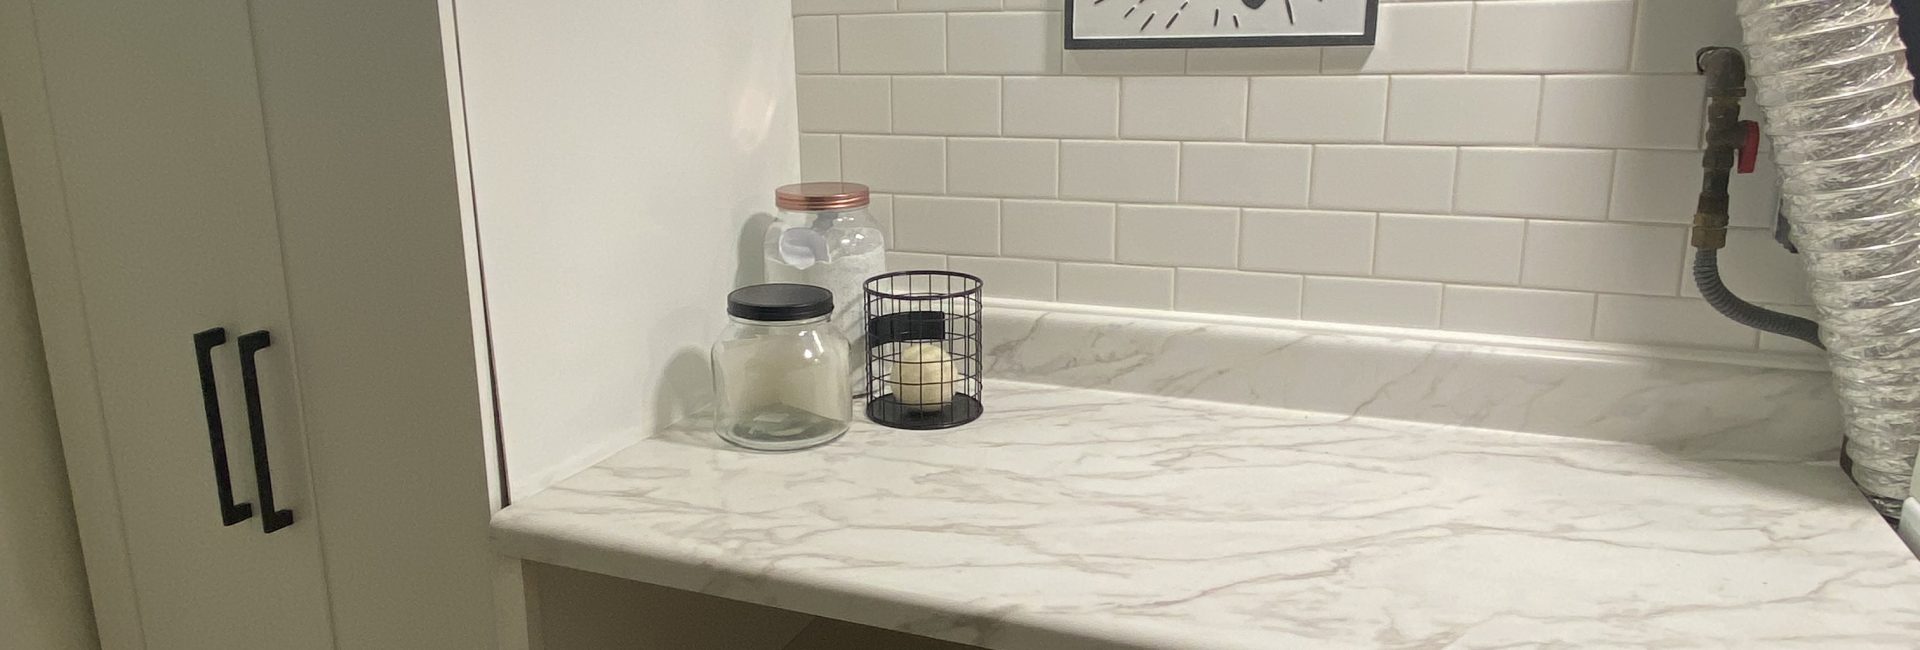
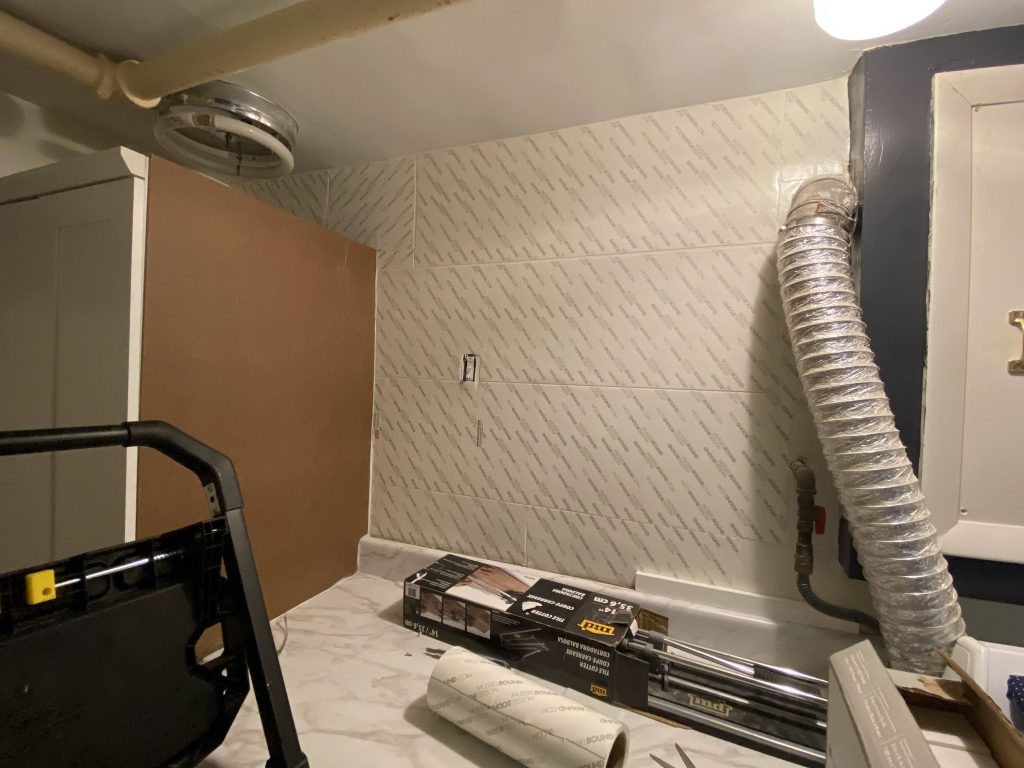
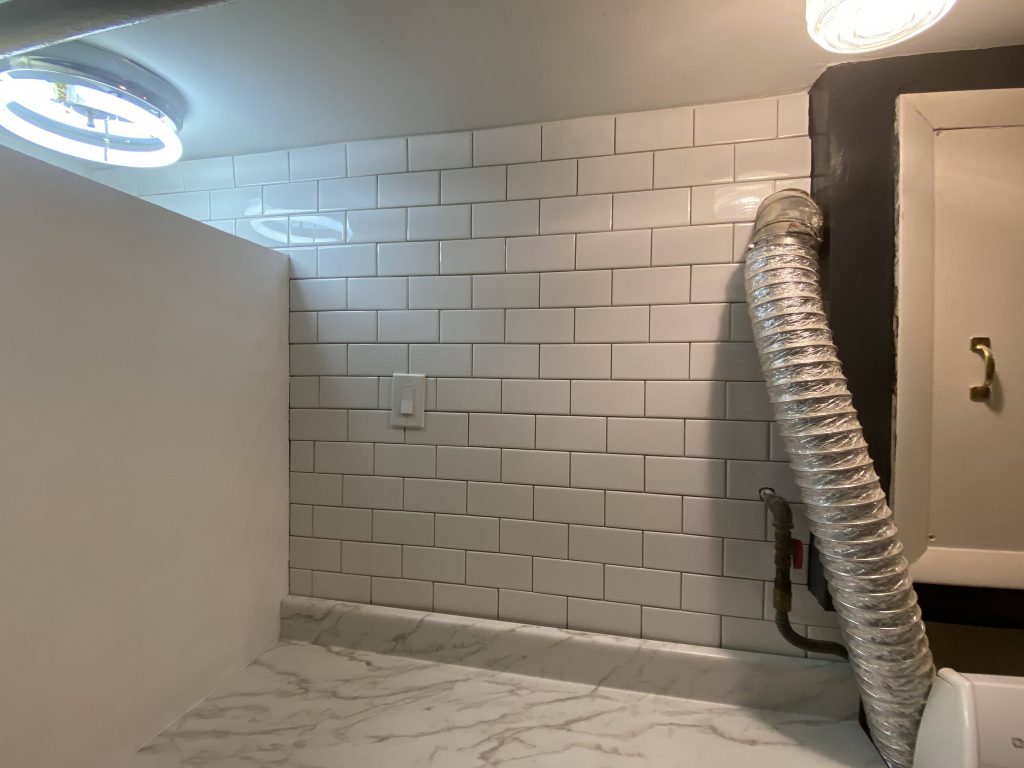
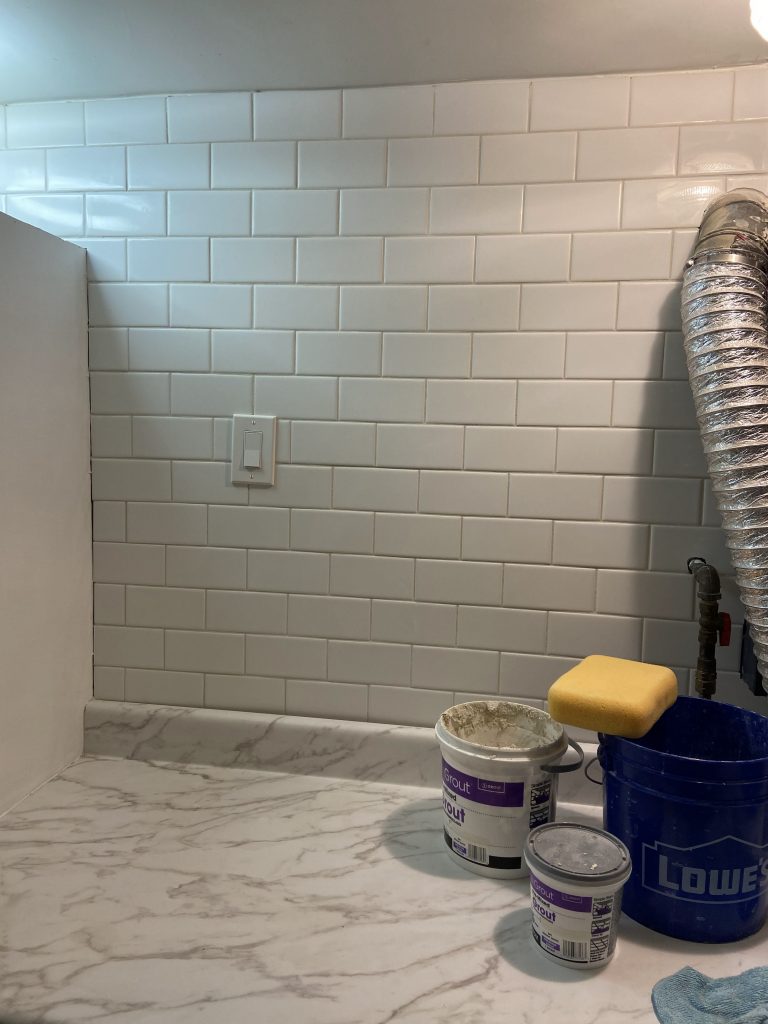
With the folding counter built, this space was really starting to take shape! The next step was to tile the back wall with white subway tile that I sourced from Facebook Marketplace. For this project, I used Musselbound adhesive instead of traditional thinset. It’s basically really sticky double-sided tape meant for tiling. You attach it to the wall by removing the film on one side. When you’re ready to tile, you remove the other side and begin placing your tiles. There’s definitely some pros & cons to using this method: PROS: much cleaner; you don’t have to wait to grout. CONS: more expensive than traditional thinset; tiles cannot be wiggled into place; tiles must be dry before placing them (if using a wet saw, you’ll need to dry the tiles before placing them-either in the oven or with a hair dryer).
Once the tile was installed and grouted, I added a hanging rod for drying clothes (using ceiling mounting brackets) and some decor. The rod is installed into the ceiling using anchors because I wasn’t able to hit studs.

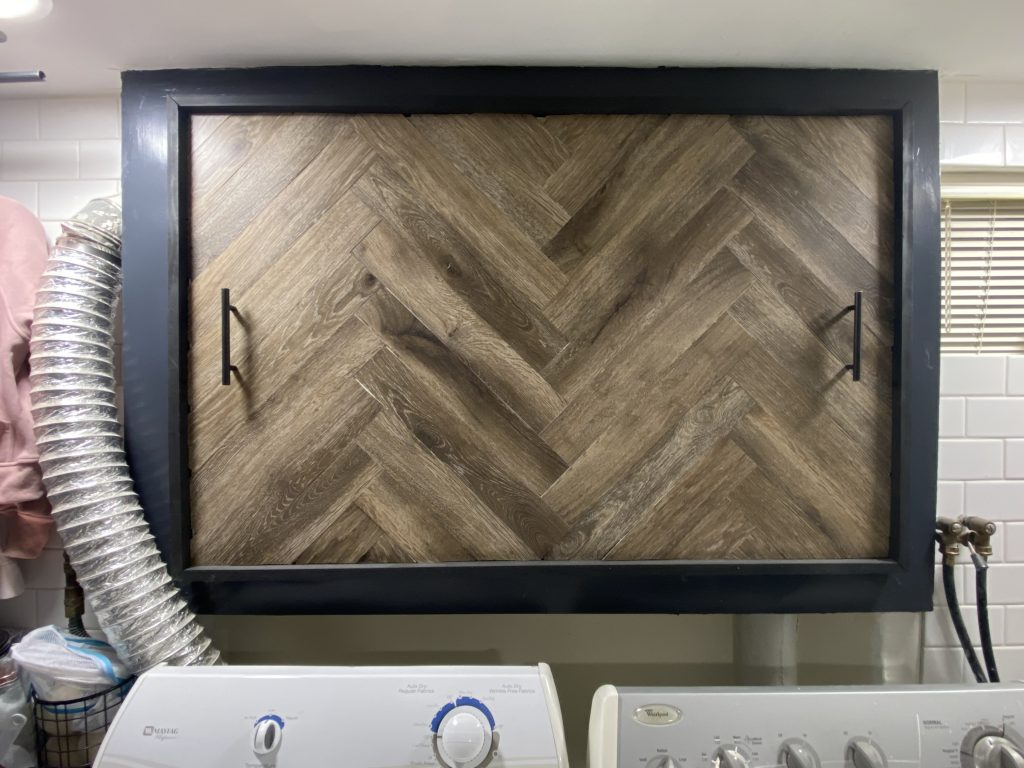
The last part of this space to be completely updated is the access panel over our washer dryer. I started by painting its “frame” the color Sled from Behr. Then, I used peel and stick flooring installed in a herringbone pattern to cover the panel, and added a few nails for extra adhesion. Lastly, I added new handles and a frame made from 1×2’s to cover the edges and make it finished!
Now that this room is finished, I have a pretty space to use and admire while doing & folding laundry!


