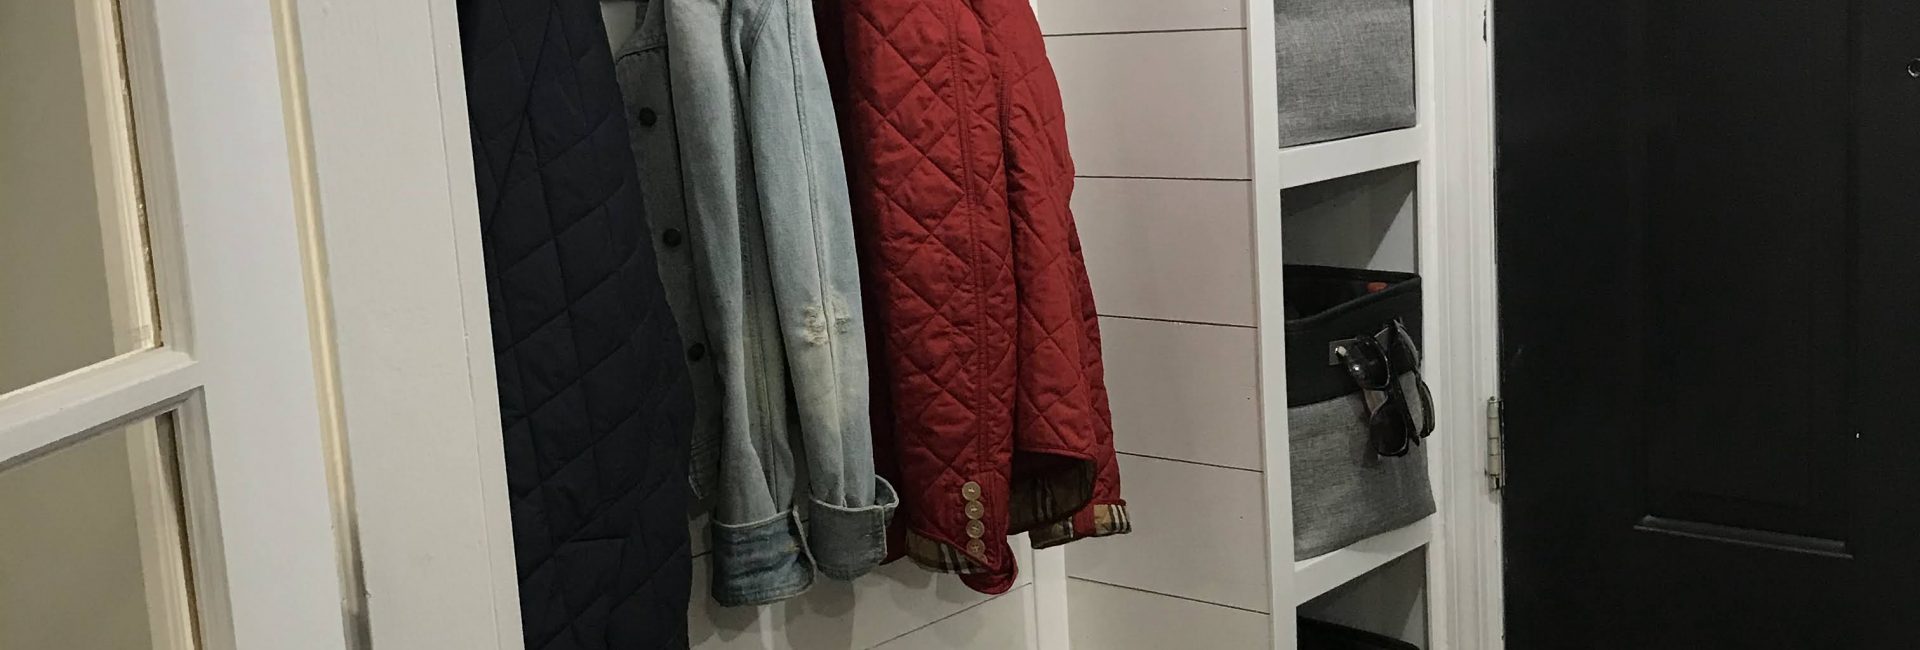
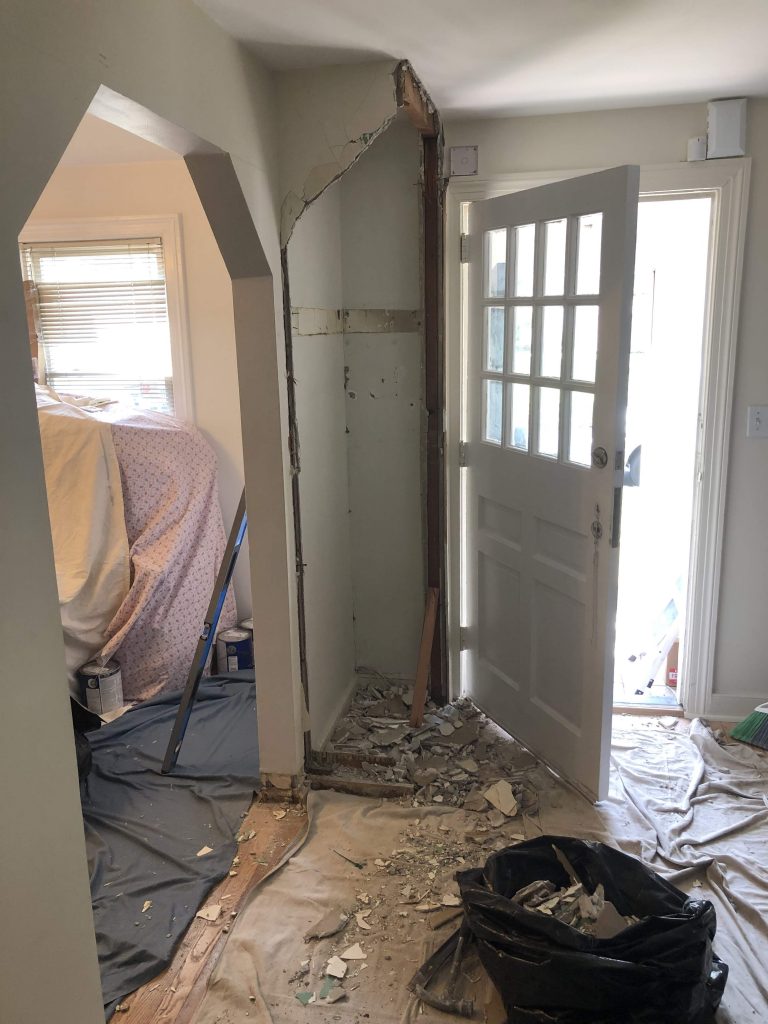
When I look at real estate, one of the first features I look for in a home is the…coat closet! That’s normal, right? As a girl who grew up in New York, I’ve amassed quite the collection of coats. When we bought our home, it had an entryway vestibule with a bench and a few hooks, and the saddest excuse for a coat closet. When widening doorways for a more open floor plan, we nixed the beloved coat closet and my plan to improve the vestibule began.
   |
Disclaimer: this post contains affiliate links. That means that if you purchase items using my provided link, I will earn a small commission at no extra cost to you. Thank you for supporting me!
Materials/Supplies
3/4″ birch plywood
1x3x8 primed pine for shelf cleats
2×4’s for the base of the folding station
pocket hole screws (assorted sizes)
bench top (used an old table top)
1/8″ plywood to be used as ship lap
sandpaper (assorted grits)
Tools:
stud finder (the only one I trust!)
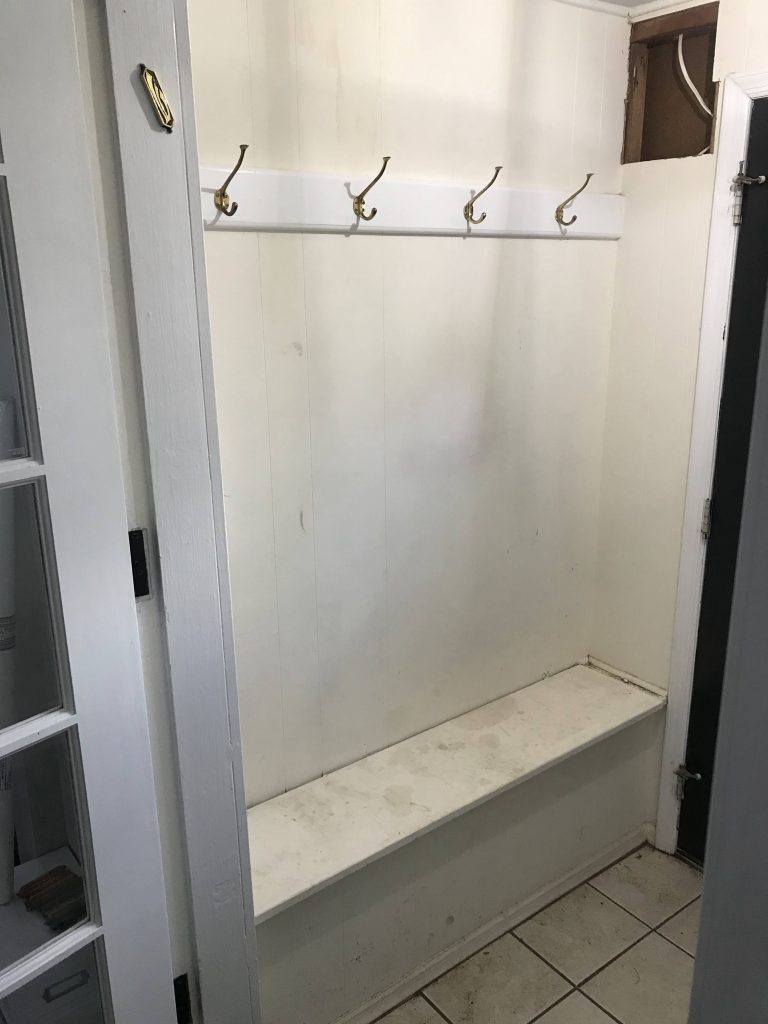
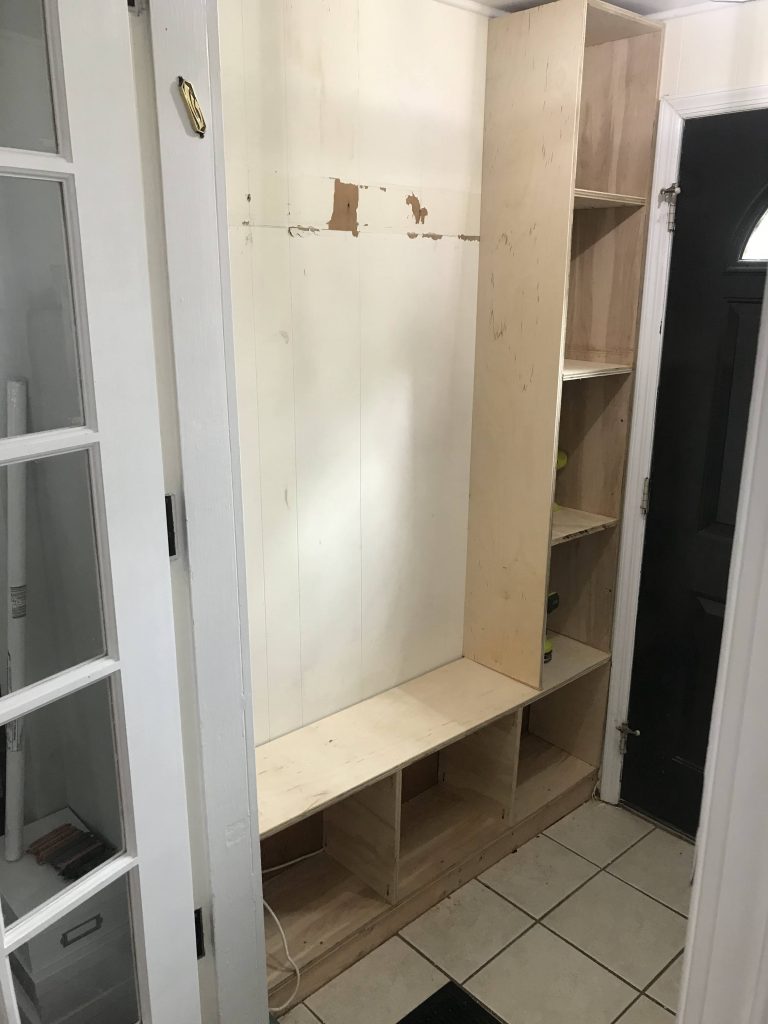
This vestibule is about 4 feet by 4 feet, and my plan was to build a bench and built ins on one side, and do board and batten on the other. I started by demoing the existing bench and removed the hooks (with care! I ended up spray painting them and reinstalling them later).
Next, I built a base with 2×4’s and wood screws, ensured it was level on the floor, and attached them to the studs with more wood screws. Then, I used my Ryobi table saw to rip ¾ inch plywood down before assembling the 3-section bench, attaching pieces using pocket holes. I opted to not use glue because as my first build, I was sure I’d have to assemble and disassemble a few times to get things just right.
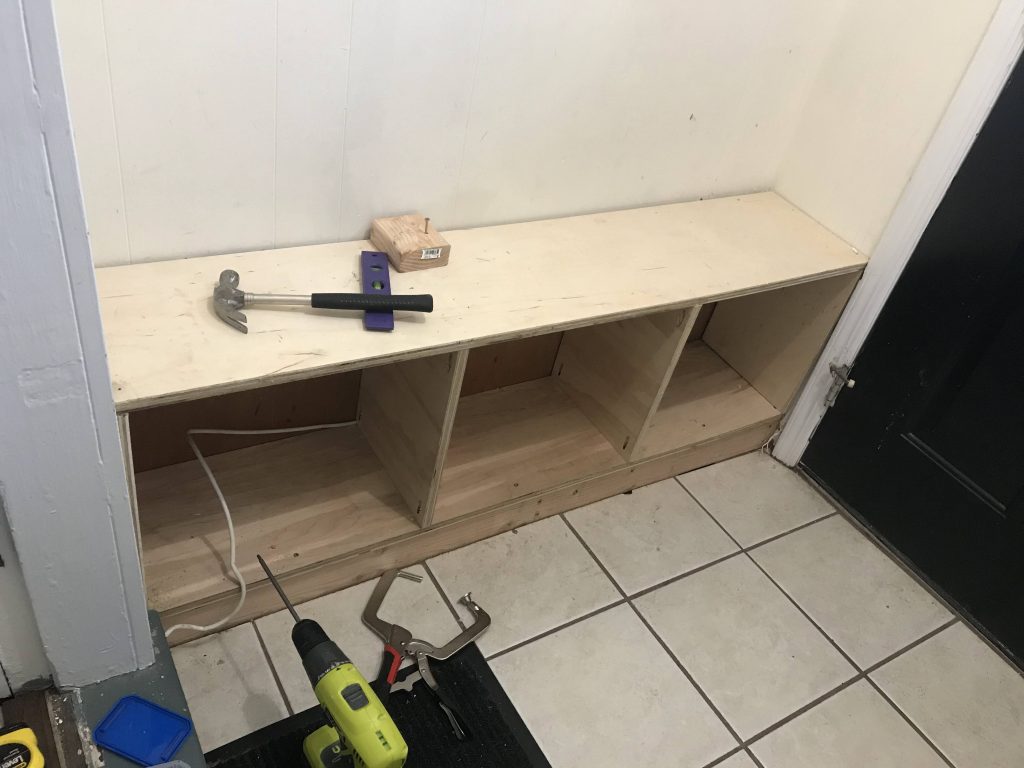
With the bench attached to the base, I started on the shelves using a similar process to the bench. I attached more ¾” plywood using pocket holes, sans glue. In hindsight, I’d have done a few things differently if I were to rebuild the shelves: I would have purchased my baskets first, and then created the spacing based off of them. We ended up with 4 sections, but we may have been able to fit another one had I bought my baskets first, and built around them. My other “mistake” with the shelves was that I didn’t use a spacer or calculate the spaces so that they’re even…I have no idea why. So if you come to my house, don’t measure the height of each cubby, ok?
Next up? The “shiplap.” We wanted the look of shiplap, without the price tag, so I used ⅛” plywood and ripped them down on my table saw to 6” (and yes, unlike my shelves, these are all the same size). Then I attached them to the wall with my Ryobi 18 gauge brad nailer, and used a nickel for spacing in between each row.
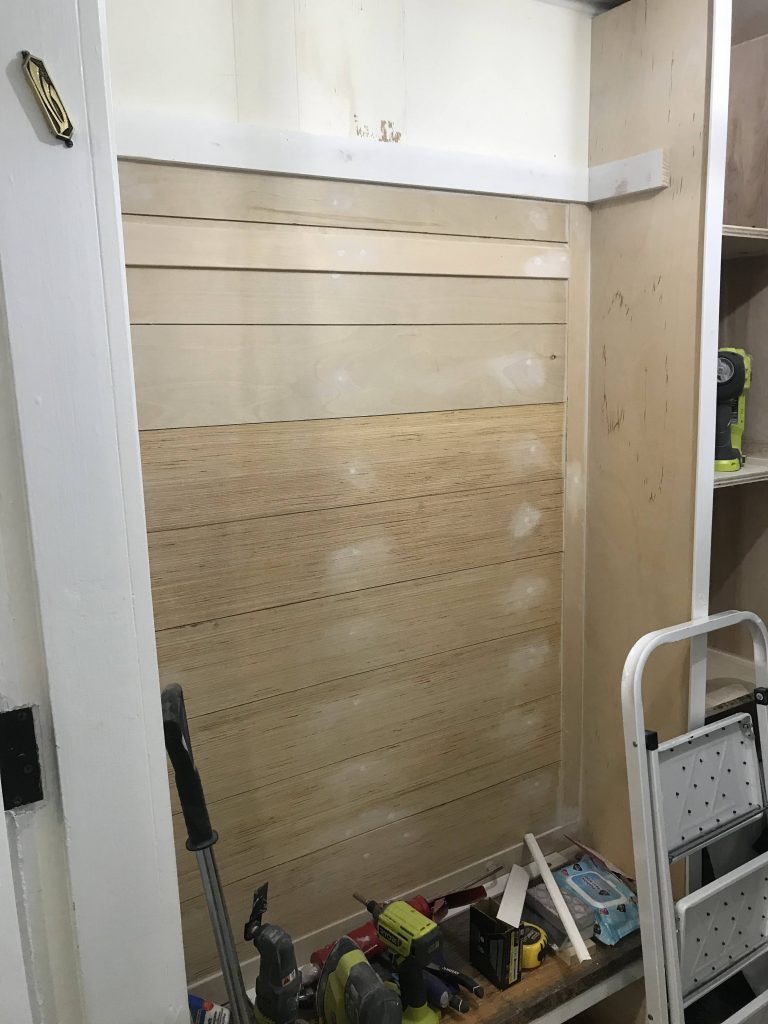
I installed a 1×3 on the wall at the height I wanted my hooks to be, and I attached it into studs with wood screws. I also used a 1×3 as a cleat for a top shelf above the hooks (again, into the studs…are you sensing a theme?).
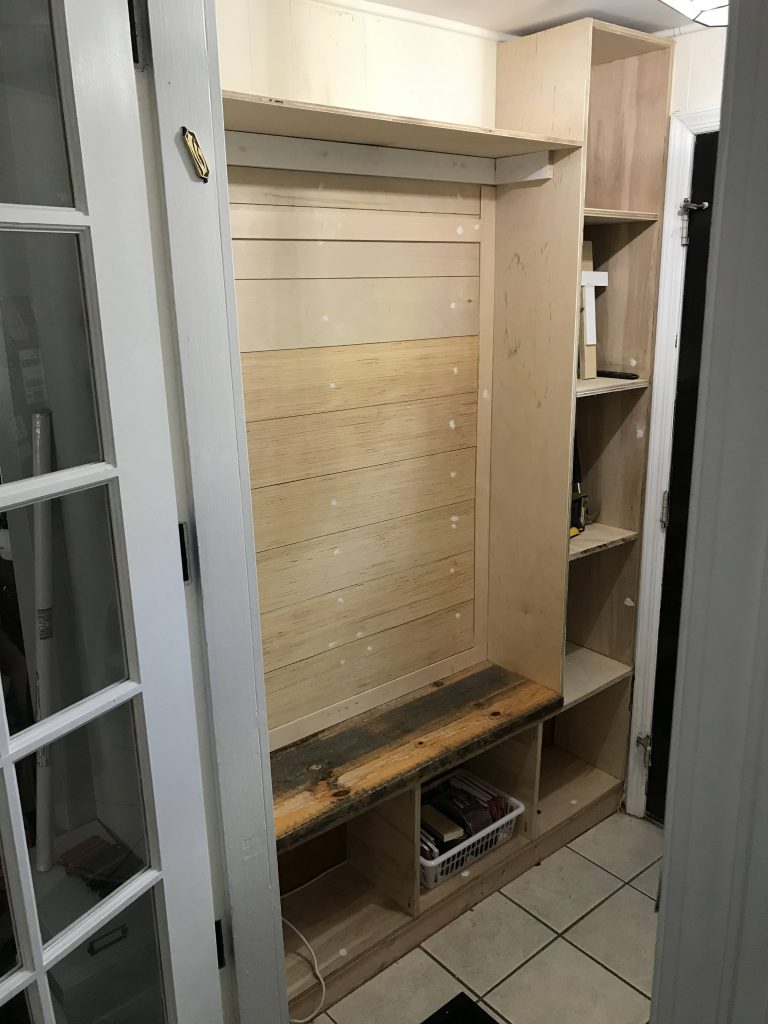
Adding trim will really make this look complete. When trimming out shelves, I’d typically use 1×2’s, but we needed some flexibility (literally) to accommodate some door trim, so we chose to use PVC lattice trim. This allowed the trim to bend where necessary.
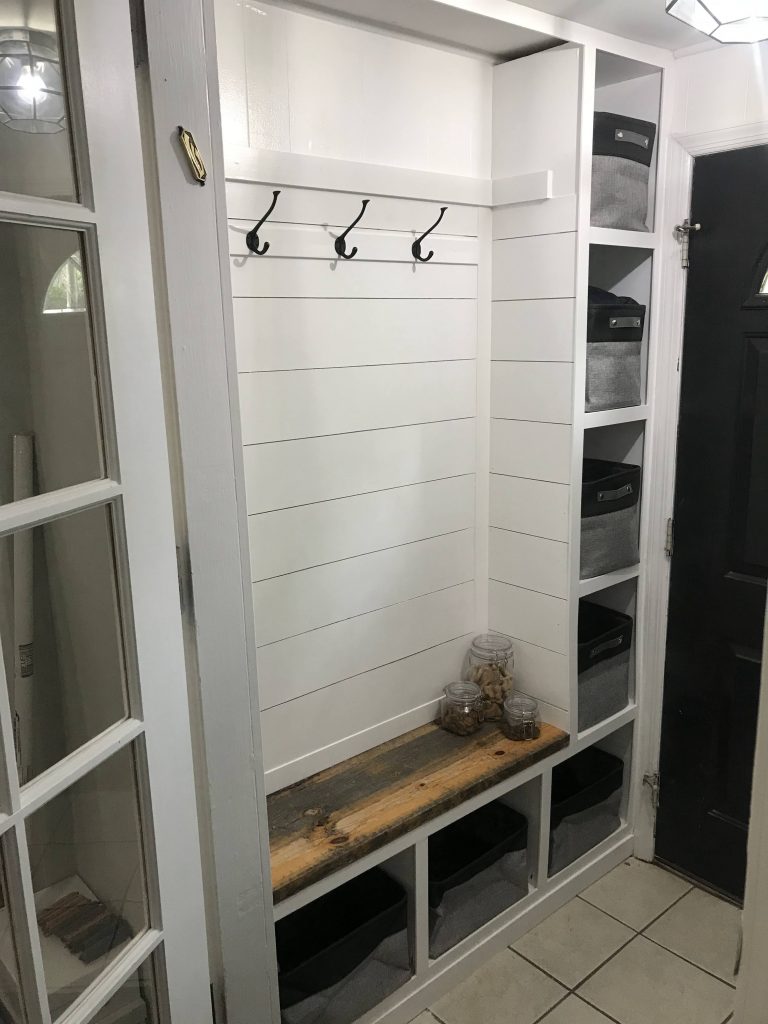
With the bones of this vestibule built-in complete, I started wood filling one million holes, caulking, and priming so that the wood grain doesn’t bleed through. I used Zinsser Bin Shellac to prime, and then two coats of Behr Premium Plus paint and primer in white (untinted). For the bench top, we repurposed a bench from a dining set that my partner built previously, cut it down to size, and attached it with wood glue and construction screws from underneath. Finally, I spray painted the original hooks black, reinstalled them, and purchased bins from Amazon.
Now that the built-ins were done, I needed to tackle the opposite wall. Instead of installing board and batten like my original plan, I decided to work with the existing paneling, install a ledger about halfway up the wall, and paint the top half Alabaster by Sherwin Williams, and the bottom half and ledger Sled by Behr. In an effort to make this space feel bigger than the whopping 16 square feet, I found a large mirror on Facebook marketplace and not only does it fit perfectly, but it’s a great way to check yourself out one last time before heading out the door!
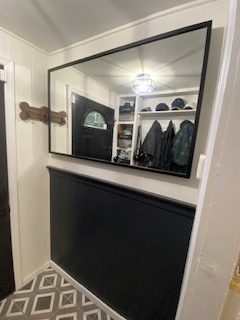
Last but not least, I used peel and stick floor tiles to cover the existing boring, but in good condition tile. These were easily cut with scissors and I didn’t use any additional adhesive when installing. Now, seeing as this is our main entrance that we use several times each day, I’d say installing peel and stick tiles is a risk, in terms of durability and longevity, however, after 2.5 years, they are still in good condition. (Note: as of 10/9/2023, our door scrapes on the tile and the top layer is slightly worn in some areas). I’ve also noticed that they’ve shifted a little, which has caused the slightest separation between the tiles, but it kind of looks like grout lines, and I’m ok with it. If I were to do this project again, I would use spacers and install grout like a traditional tile floor.


